Sometimes, a square roof curb won't cut it. For those instances, SSM has you covered.
 Speciality Roof Curbs
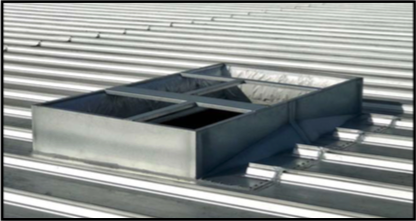
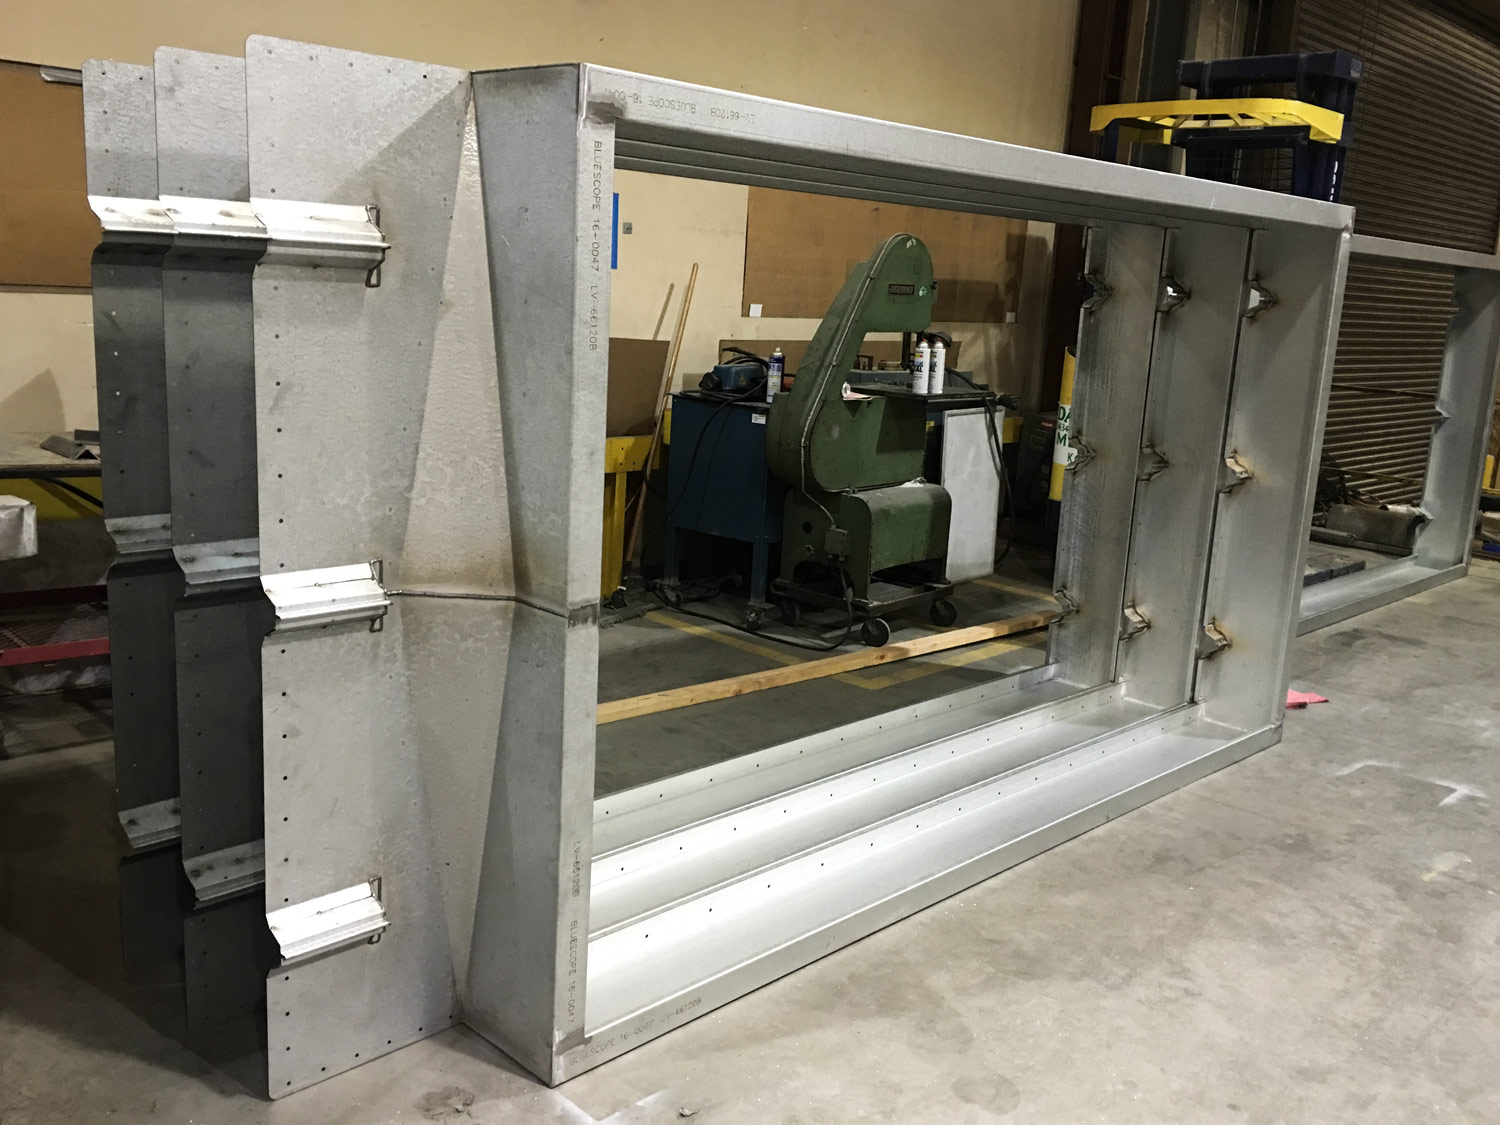
Specialty curbs can address a number of different project-specific variables. SSM responds to your project’s specific needs.
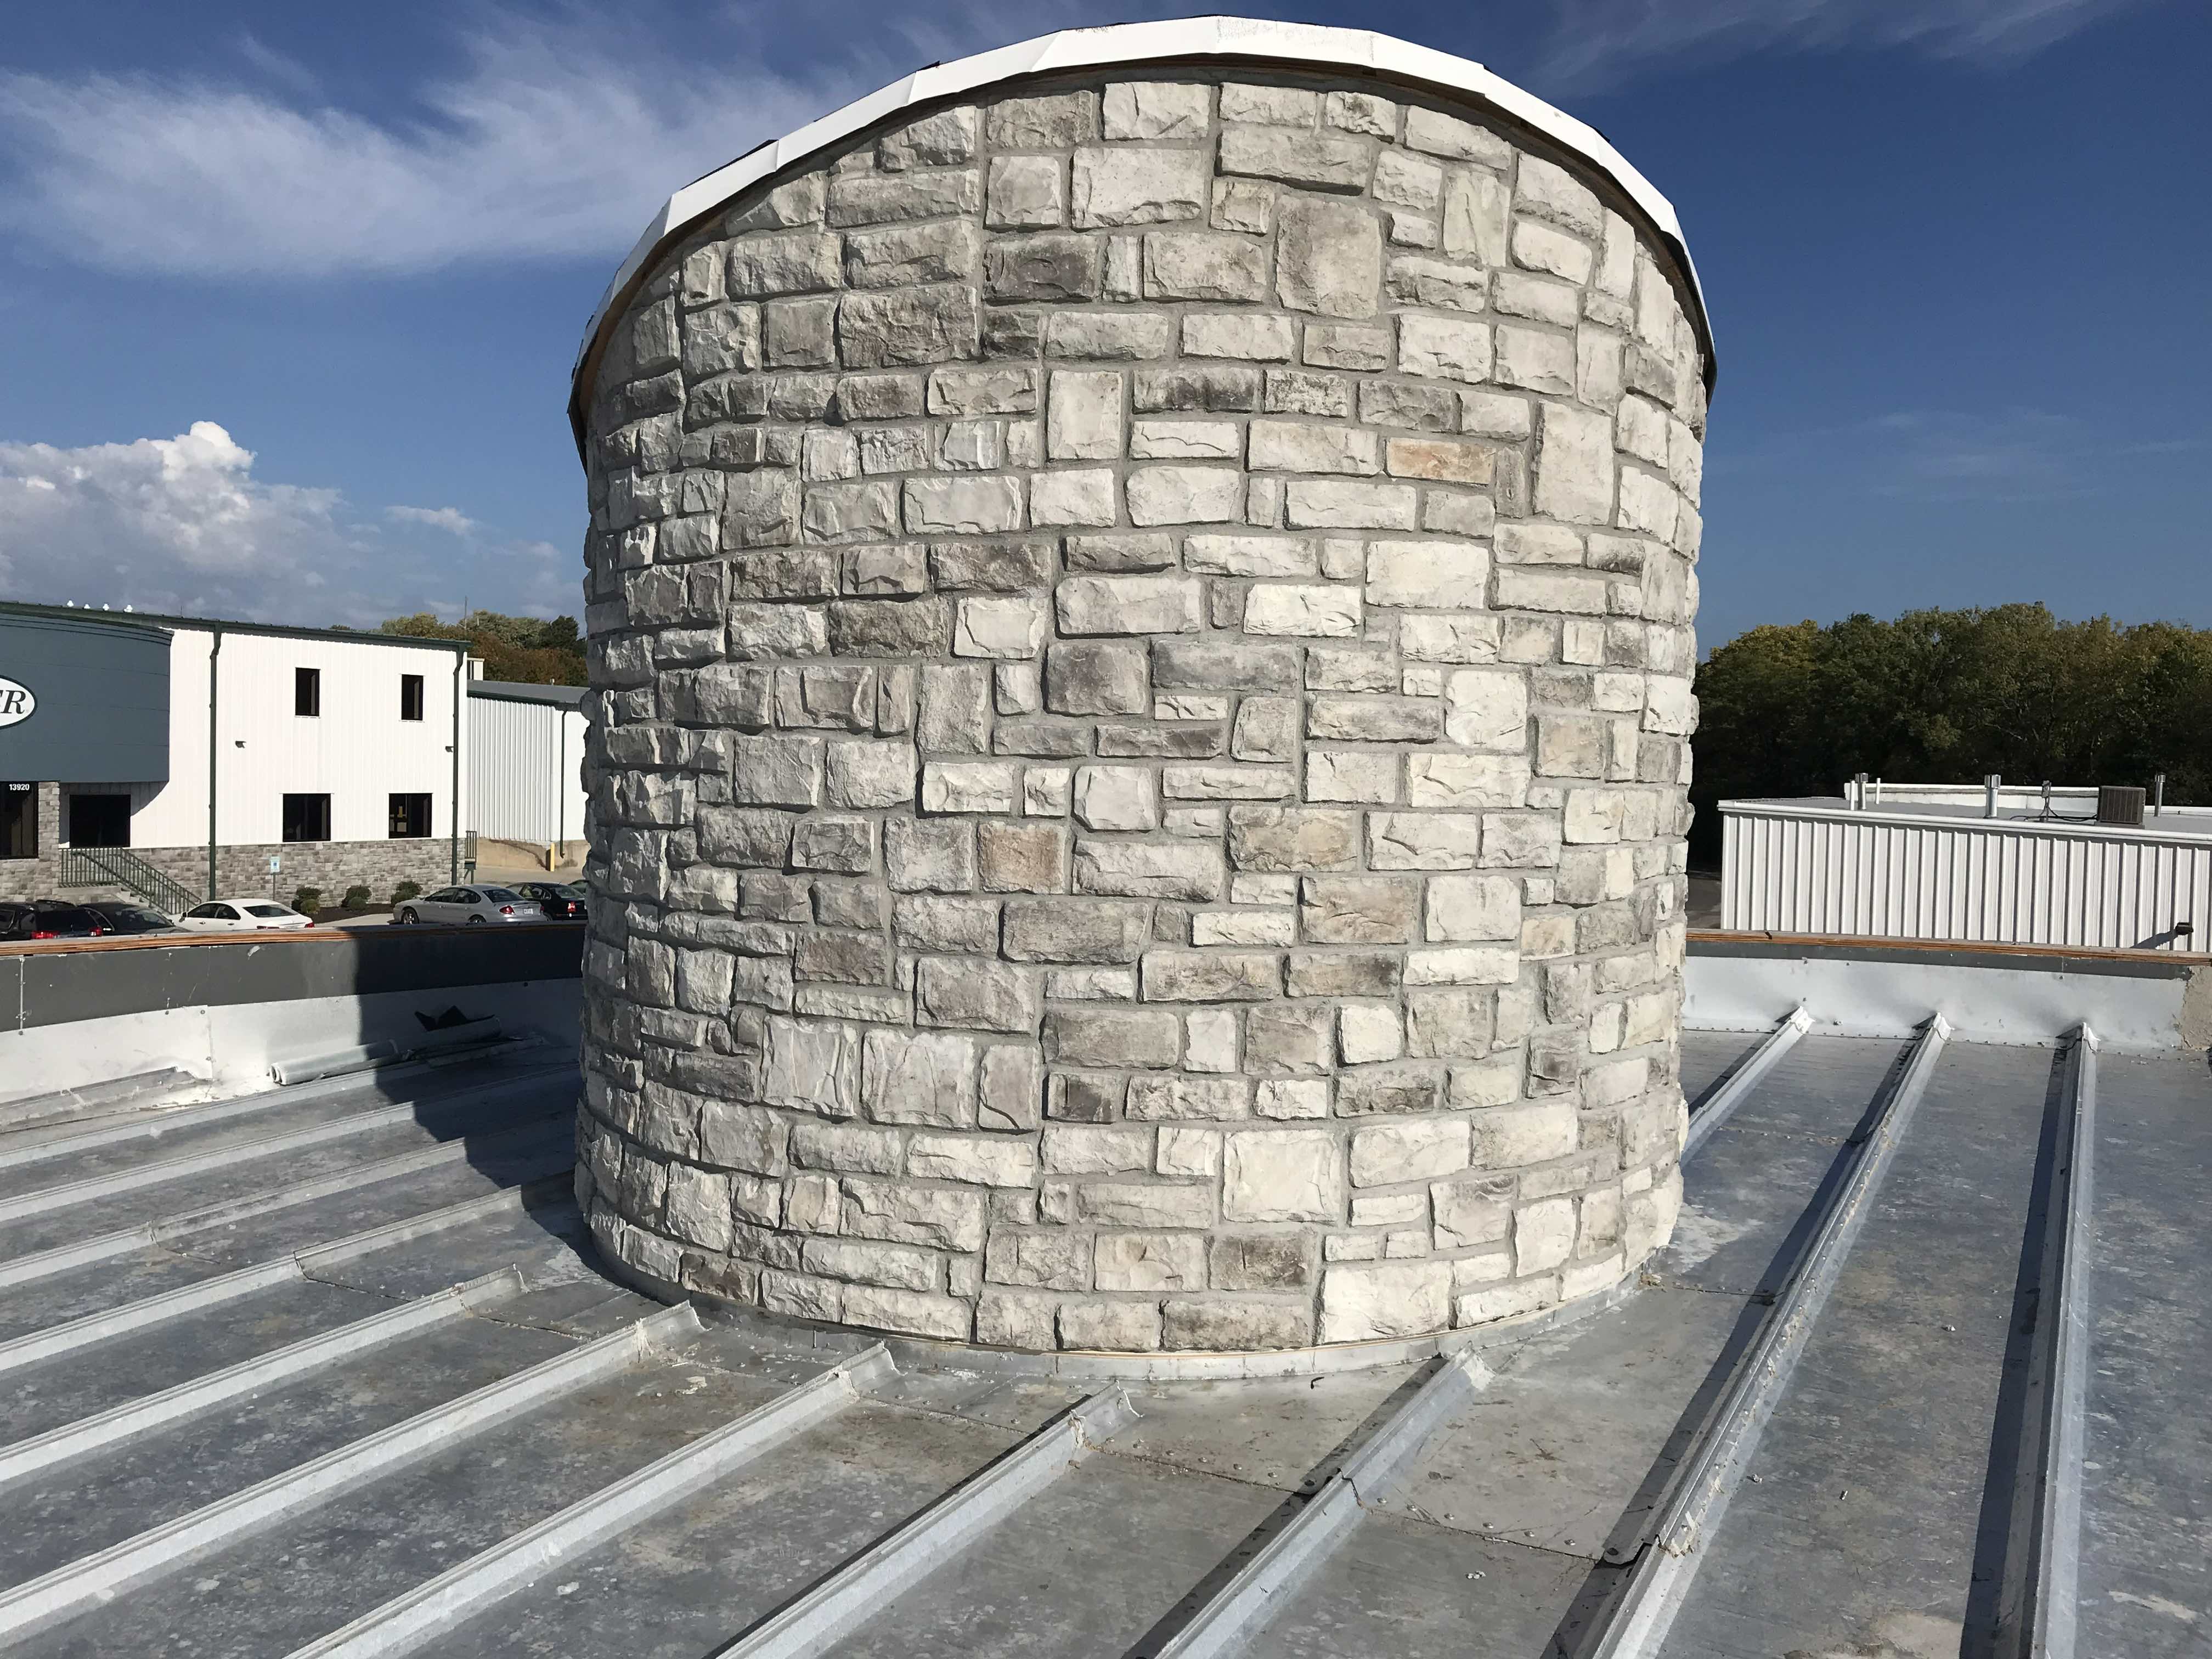
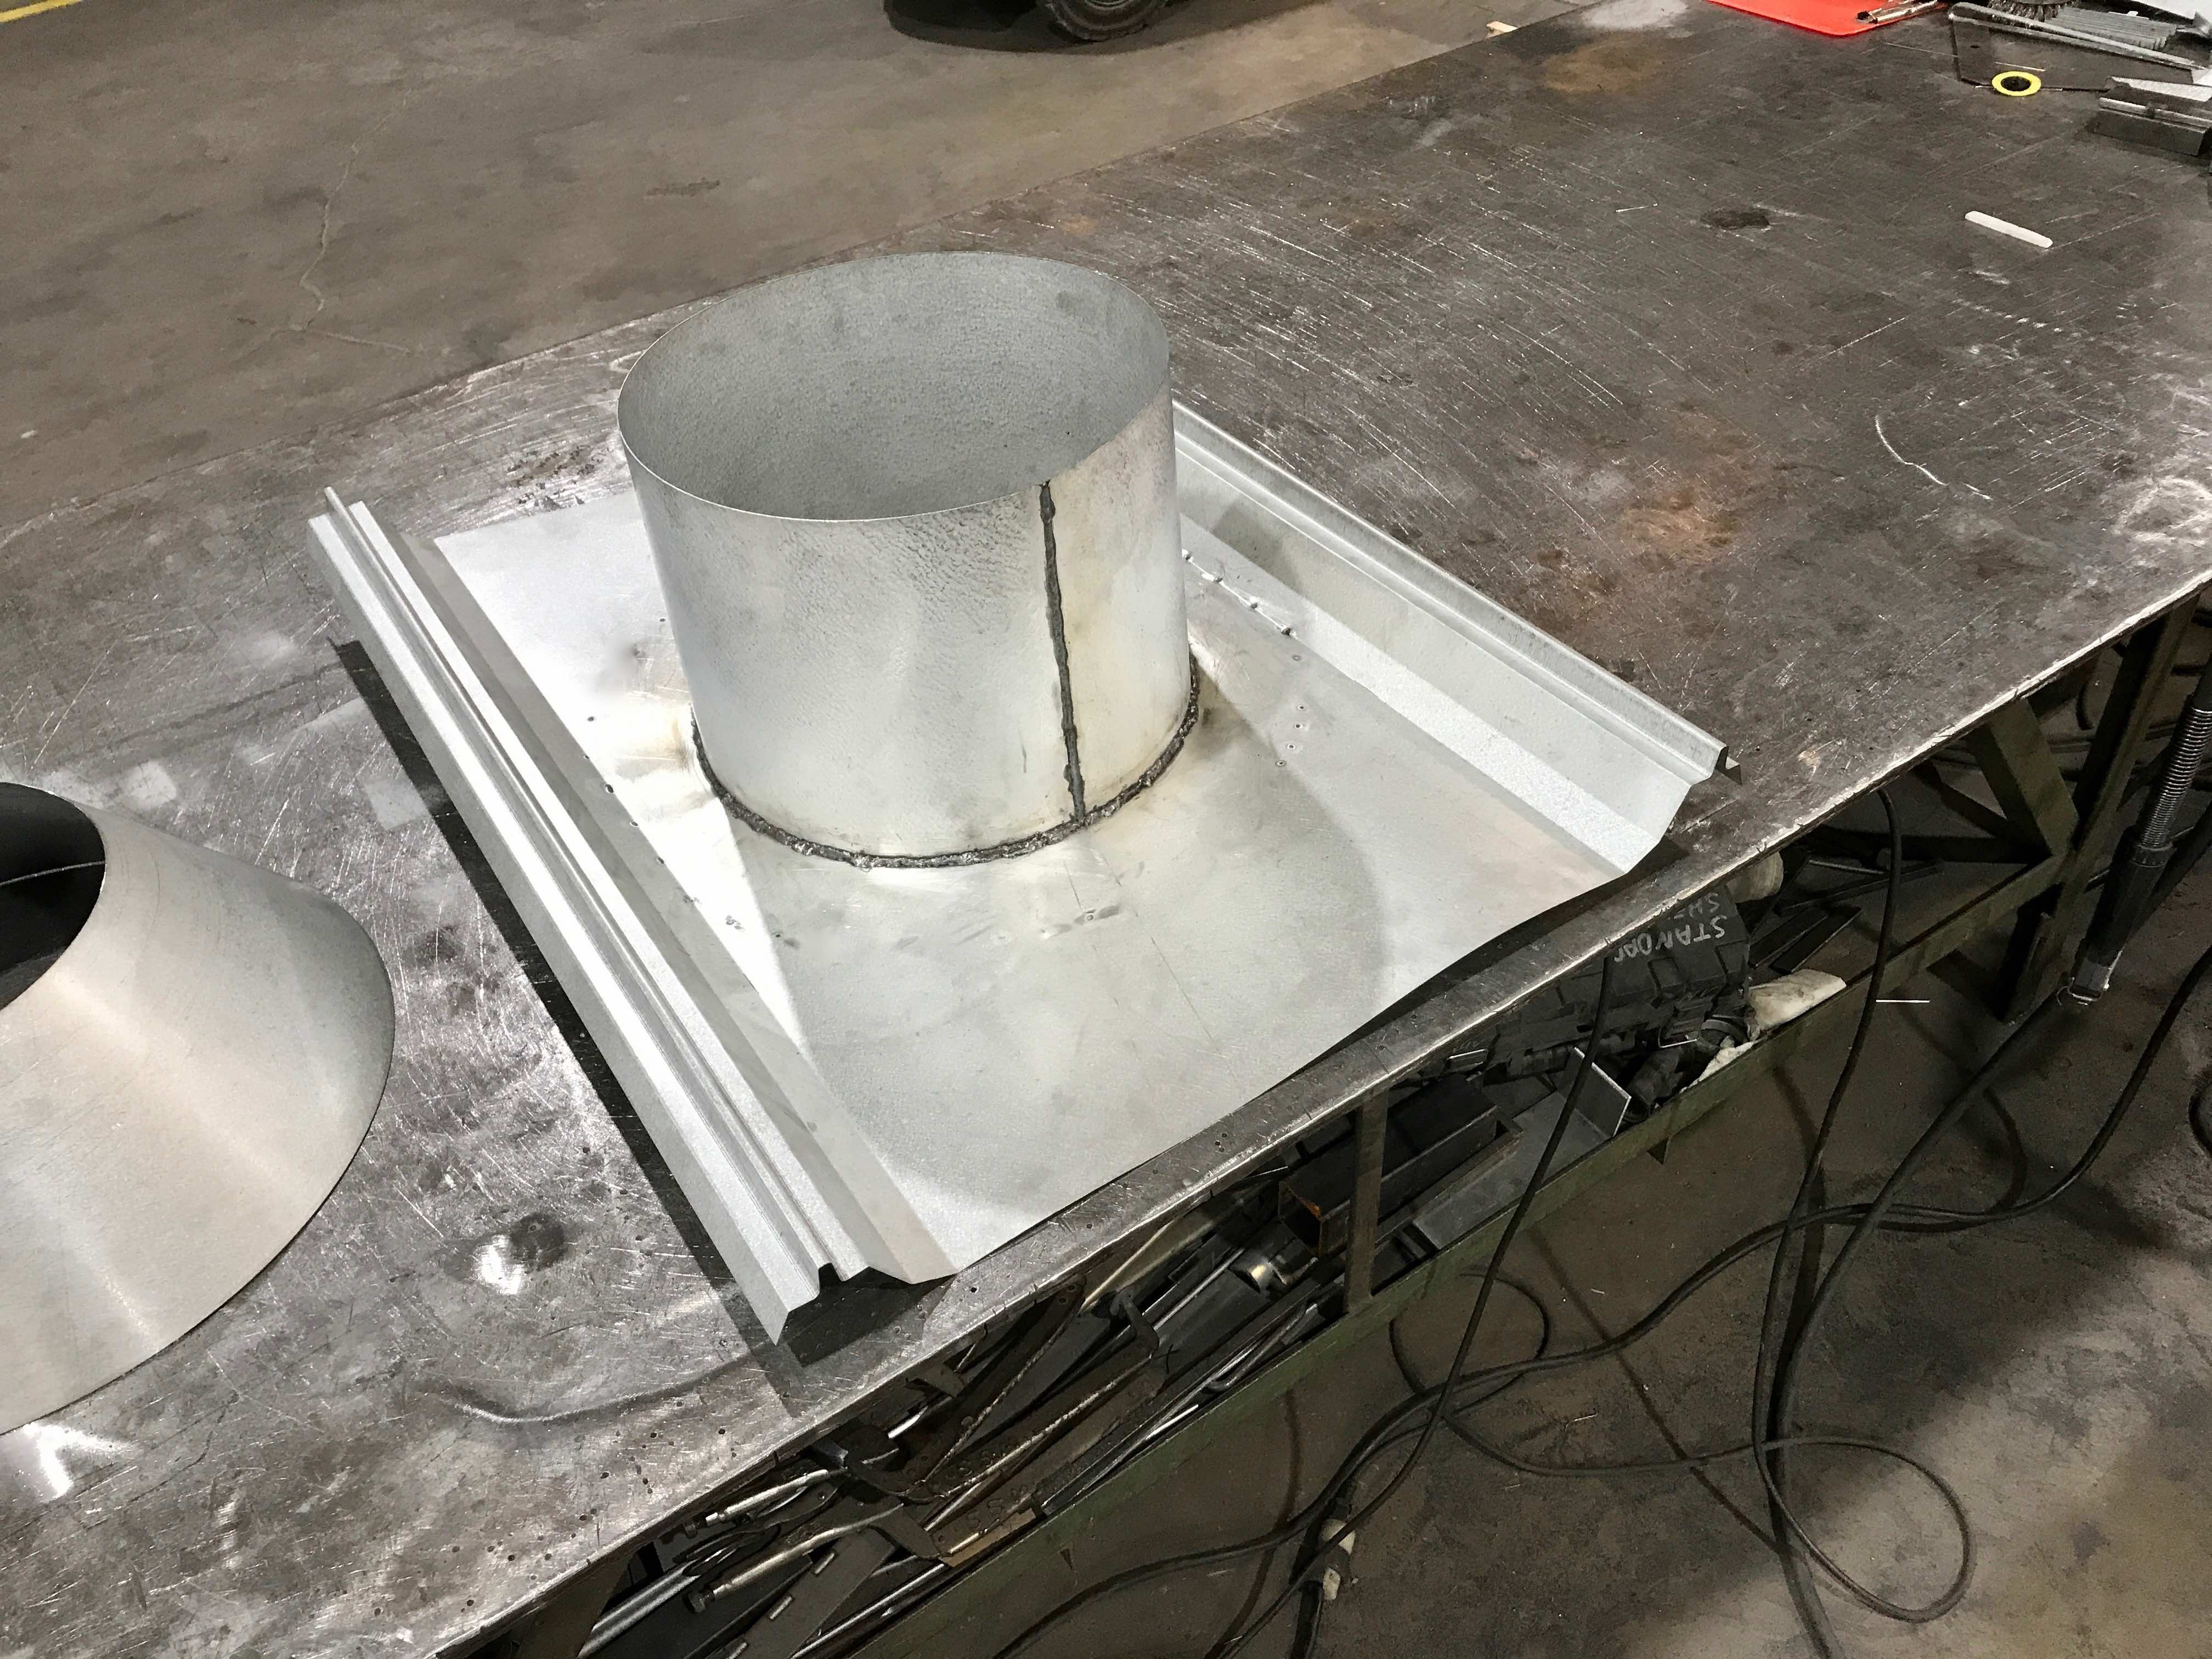
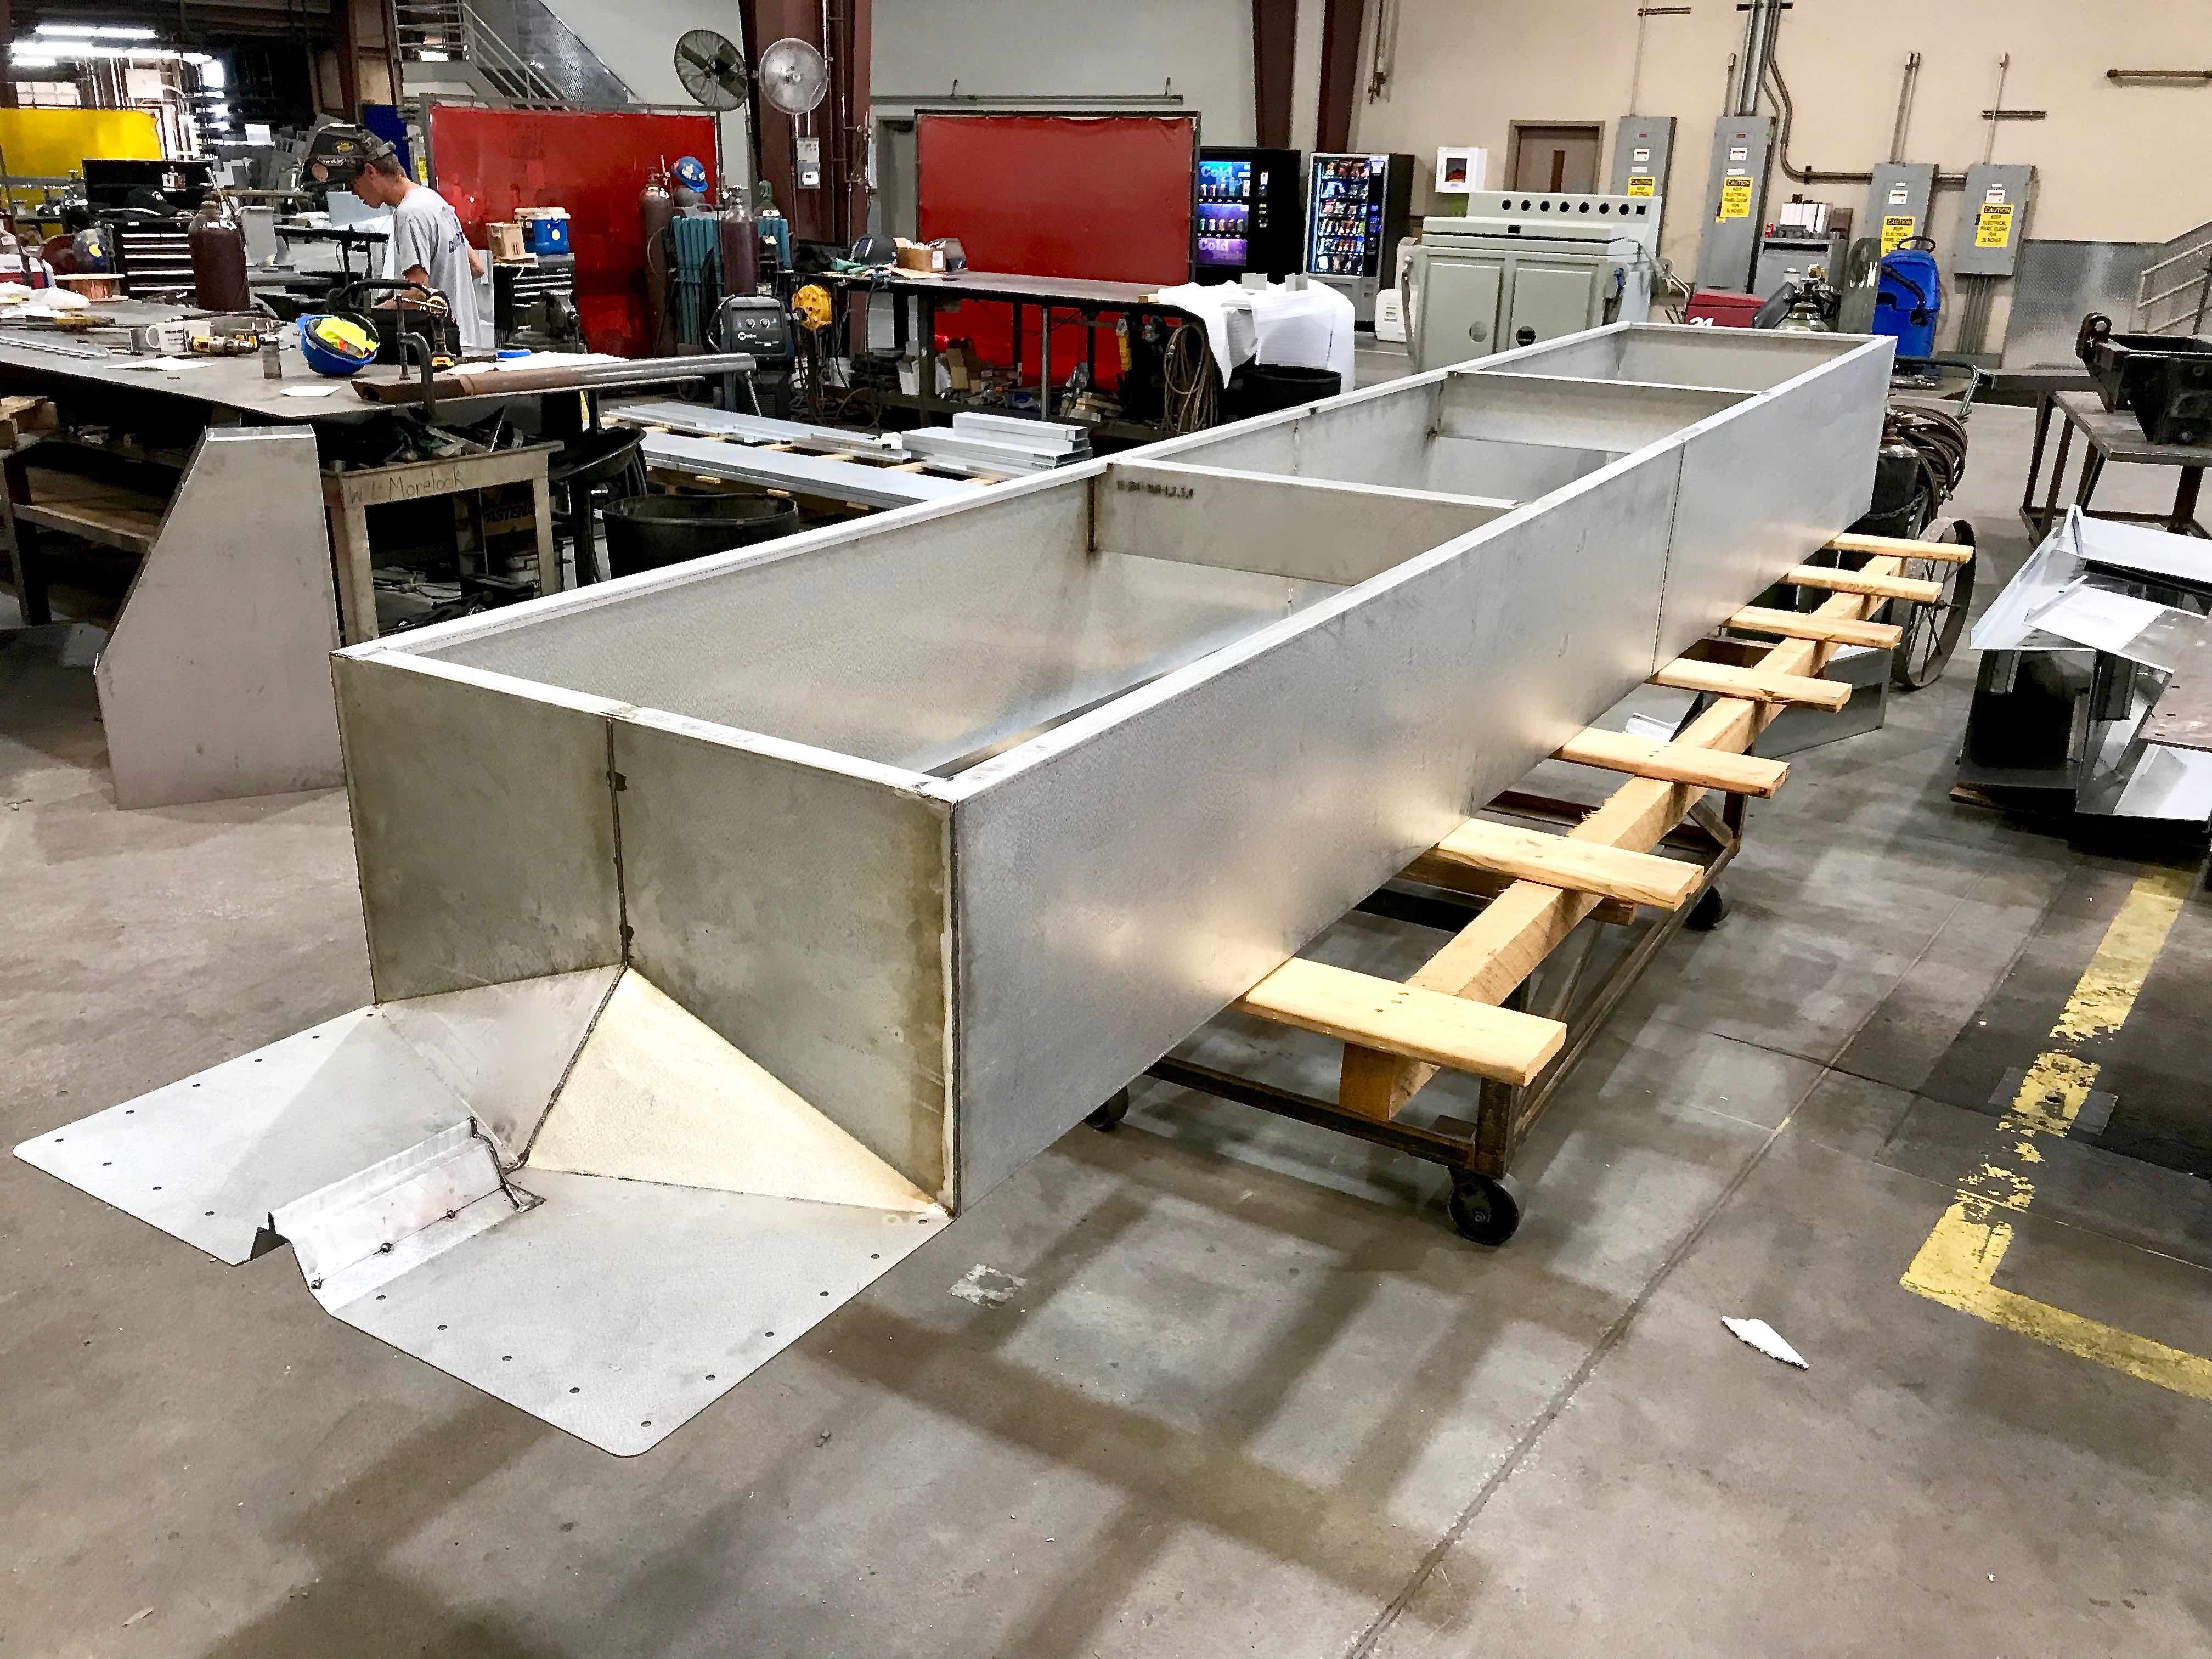
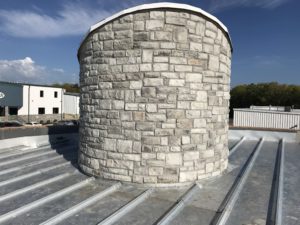
Some elements in construction can be hard to anticipate. This is probably most true when it comes to the components that make up a part of a building’s overall performance. Vertical pipe penetrations, speciality mechanical systems and steep roof pitches are just a few conditions that can create challenges. A stone chimney can be another. . .
That is where SSM comes in to assist you and your team.
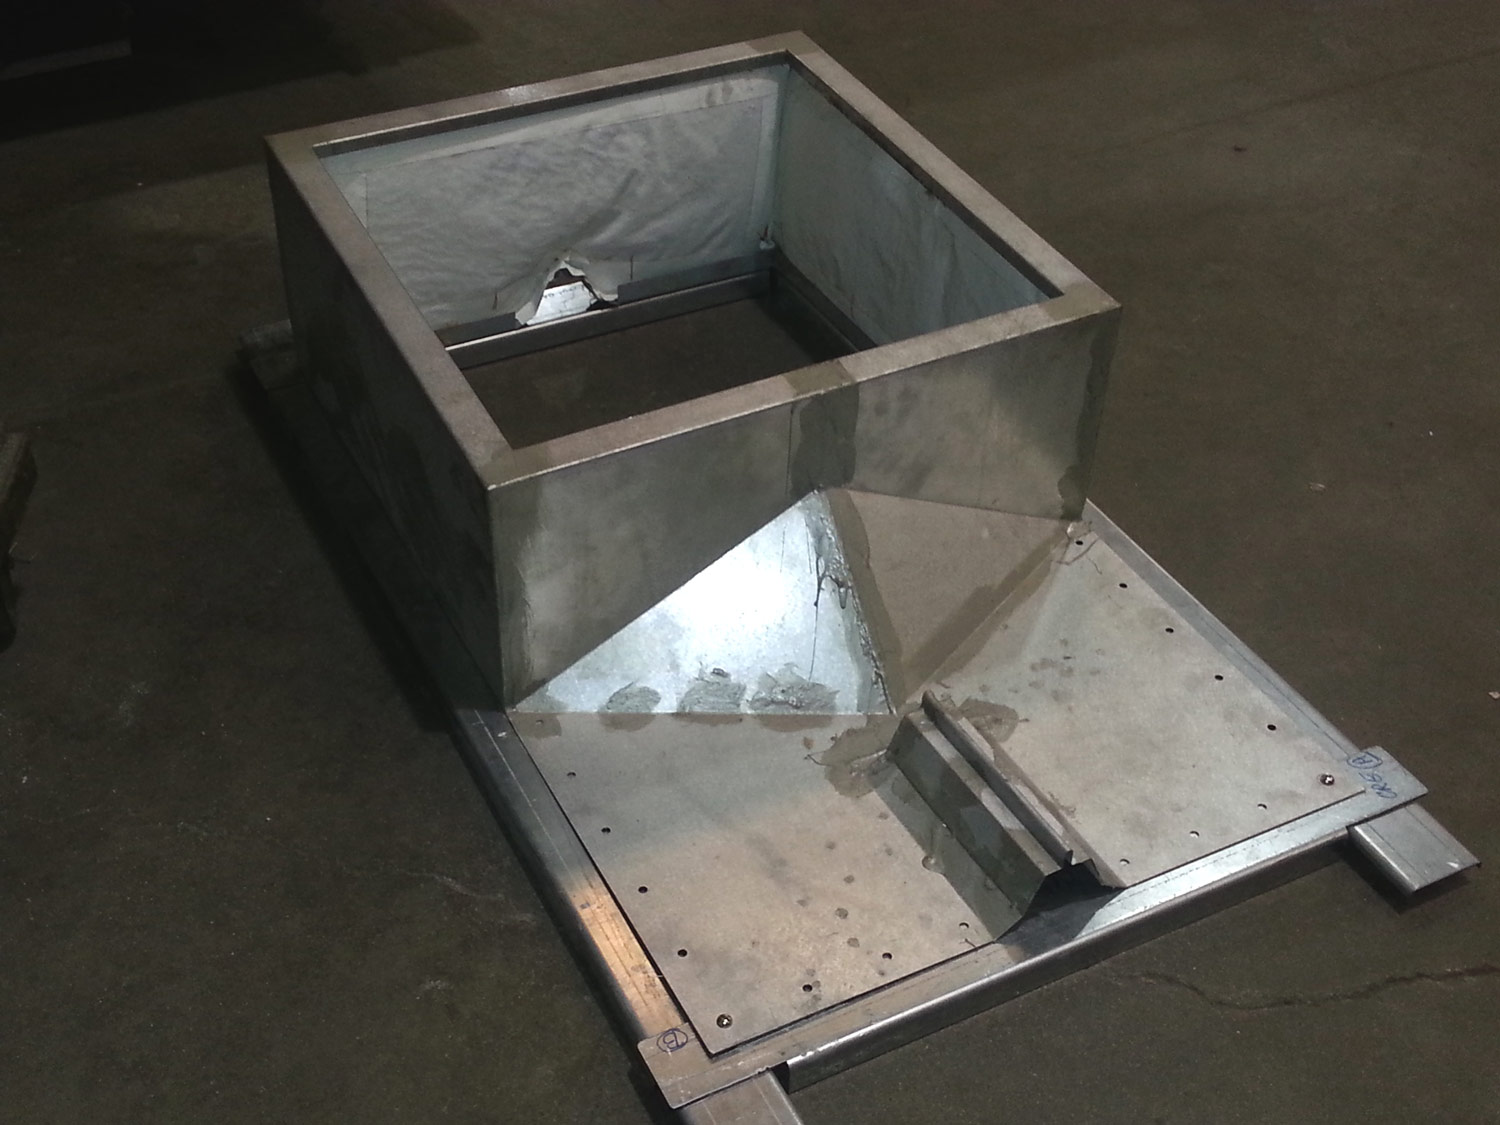
Made to your specifications, the width, length and height of the curbs are all variable. This is not a “one size fits some” product. The curb width and the mounting flange can also be modified as can the interior insulation components. Every project is different and we do not have a problem with that.
For more information or assistance, please fill out the form on the left to tell us about your project. We will get back to you quickly. You can also contact Derek Mills directly at 816.627.5437 or by sending him an e-mail at: dmills@ssm-kc.com.
Download Spec Sheet – PDF Download Spec Sheet – Word Hybrid Roof Curb Installation Guide
SSM‘s Roof Curb Installation Guide
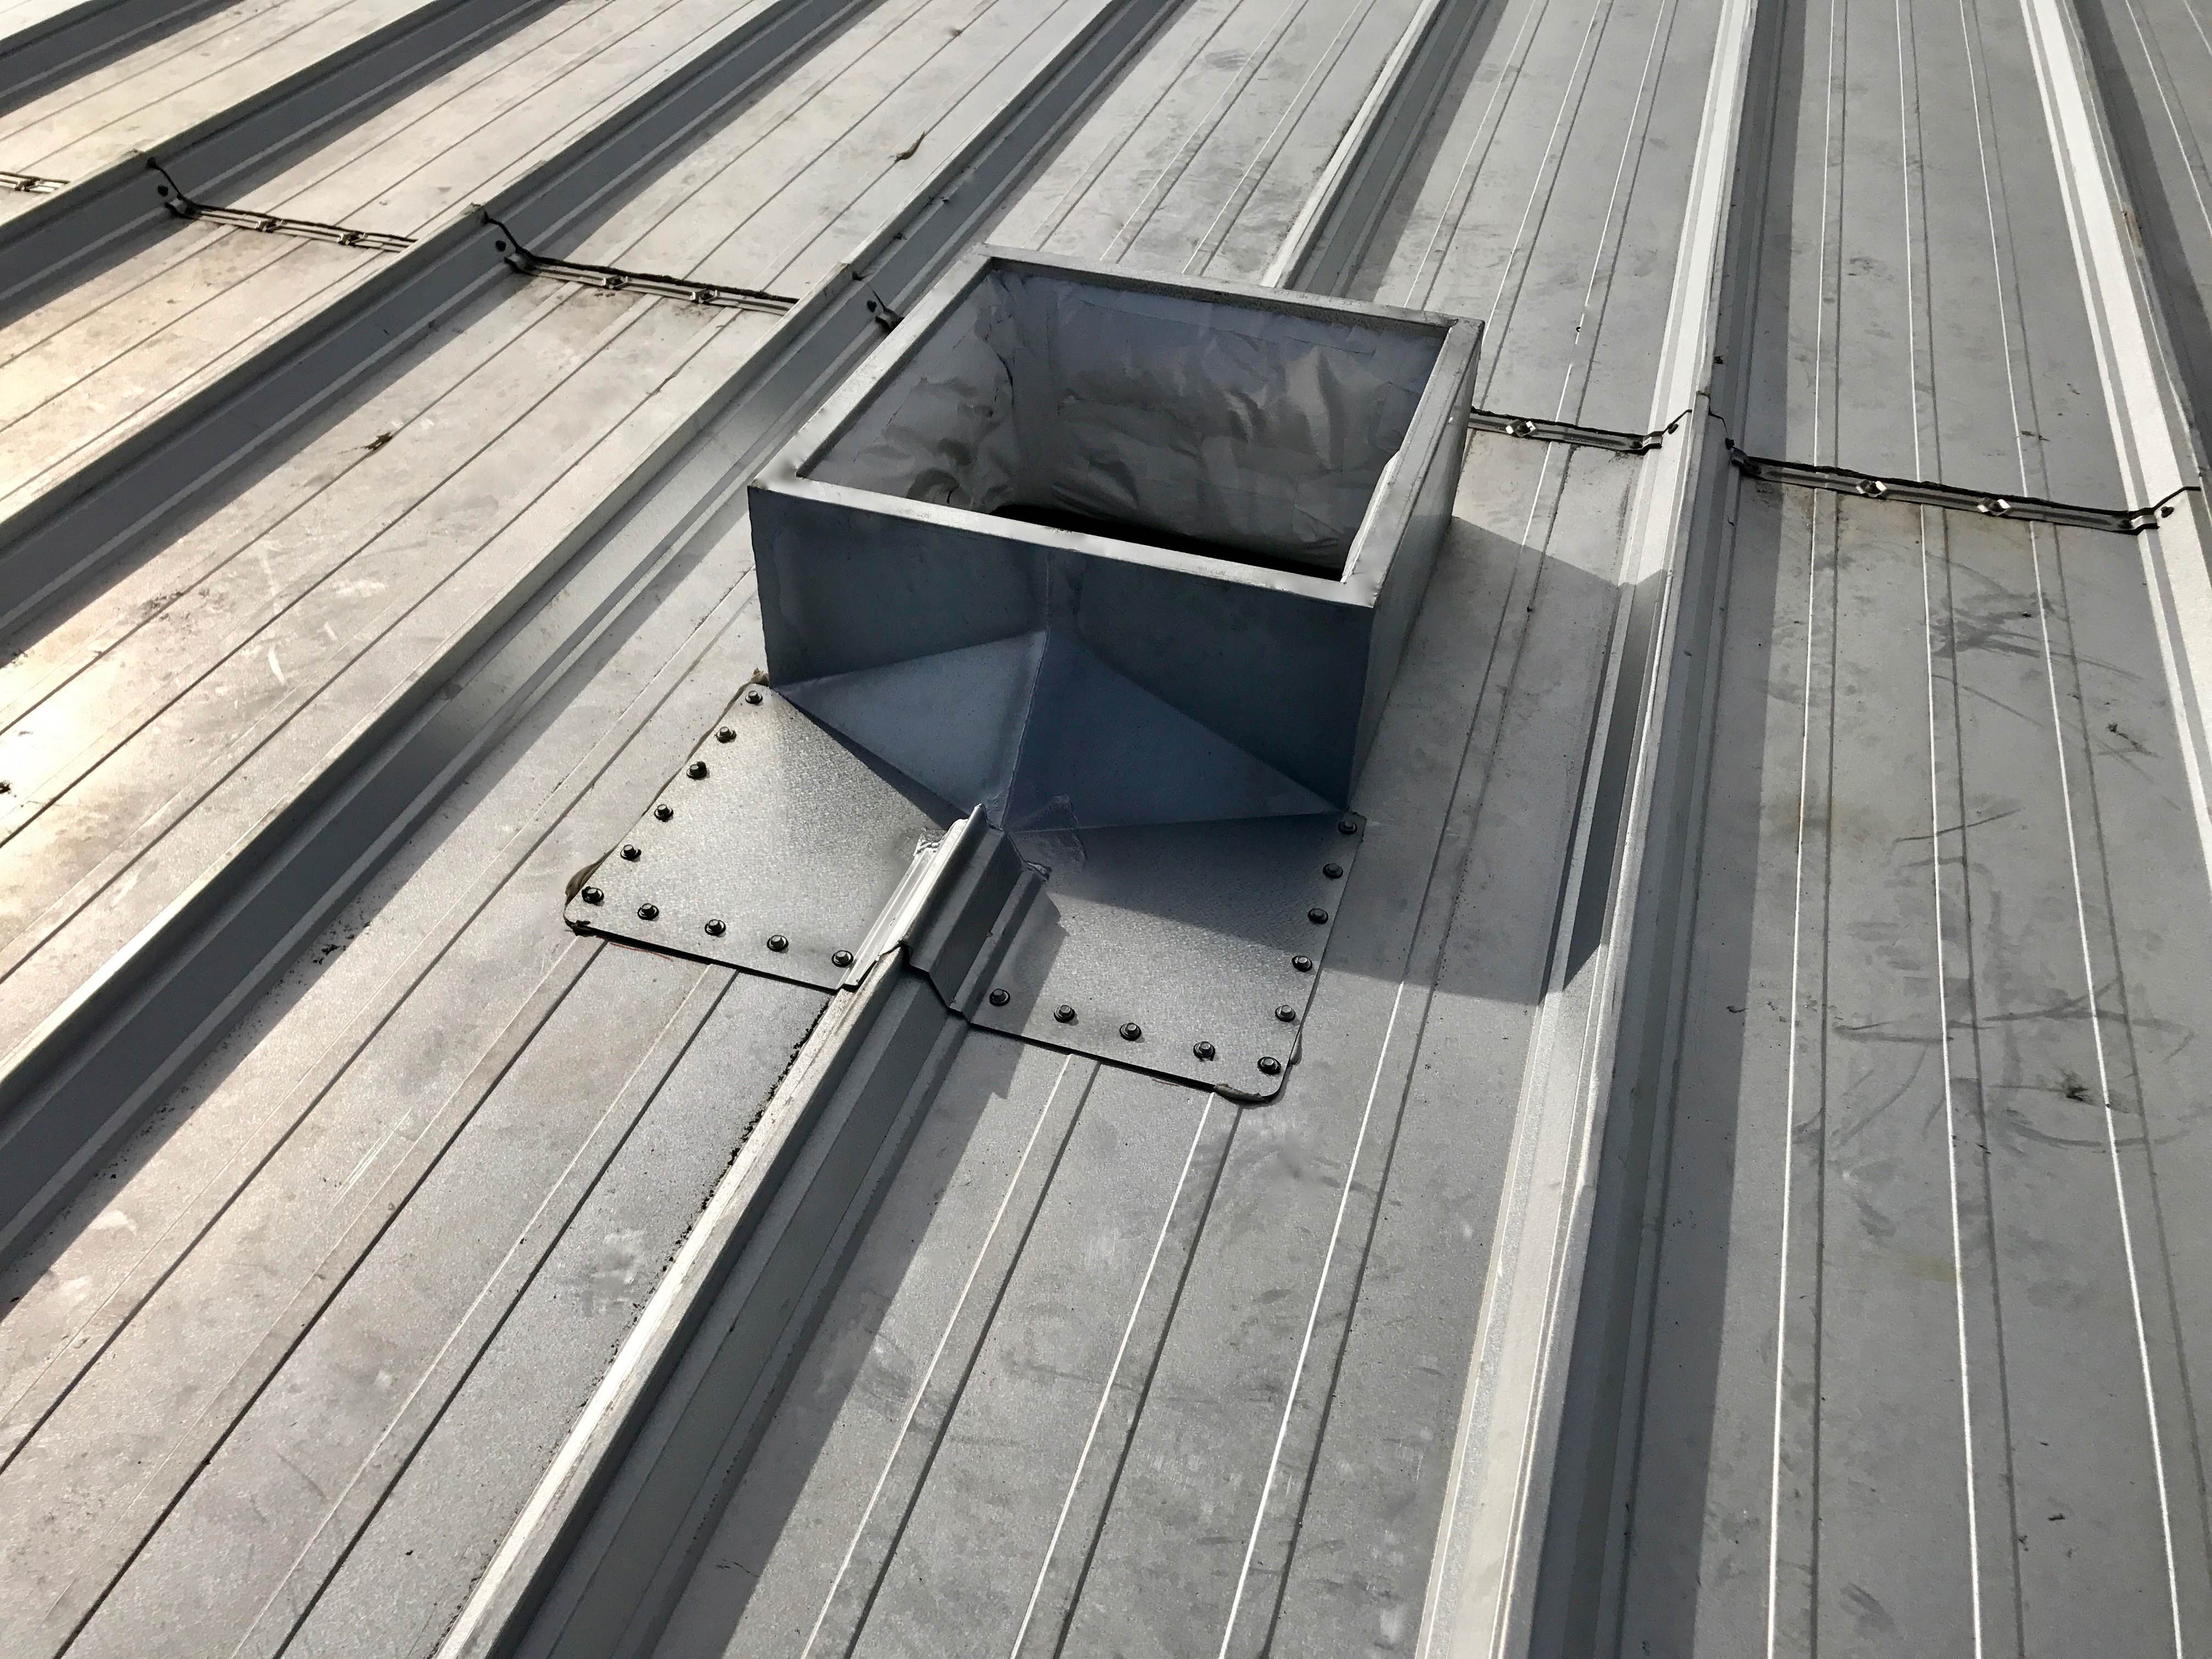
By selecting this hybrid roof curb, you have selected a patented (US Patent #US 9546485B2) and proven product that is easy to install.
With decades of experience and thousands of roof curbs under our belt, it is no wonder we are able to continue to innovate and improve our hybrid roof curbs.
There are dozens of roof curbs on the market today, but what sets SSM apart is the attention to detail and the continuous evolution of our patented design.
+Roof Curb Parts
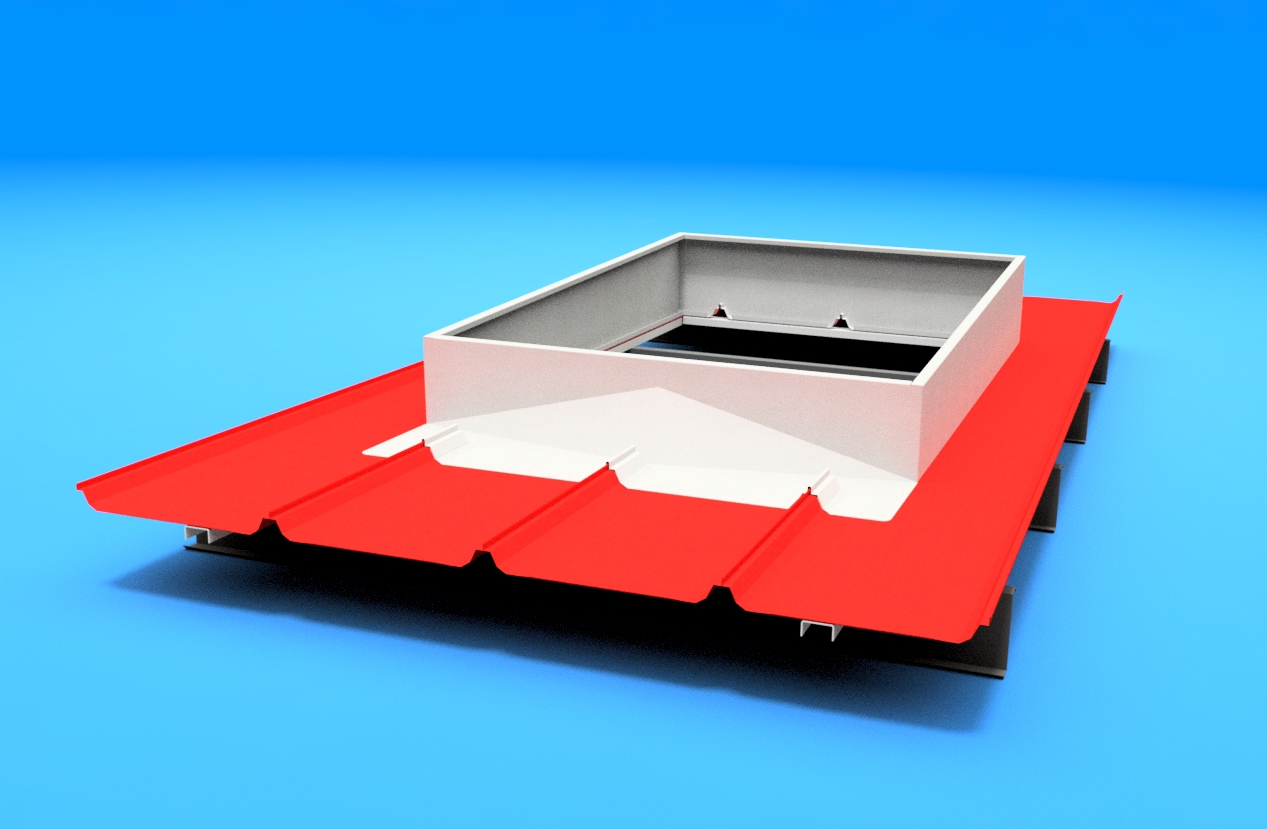
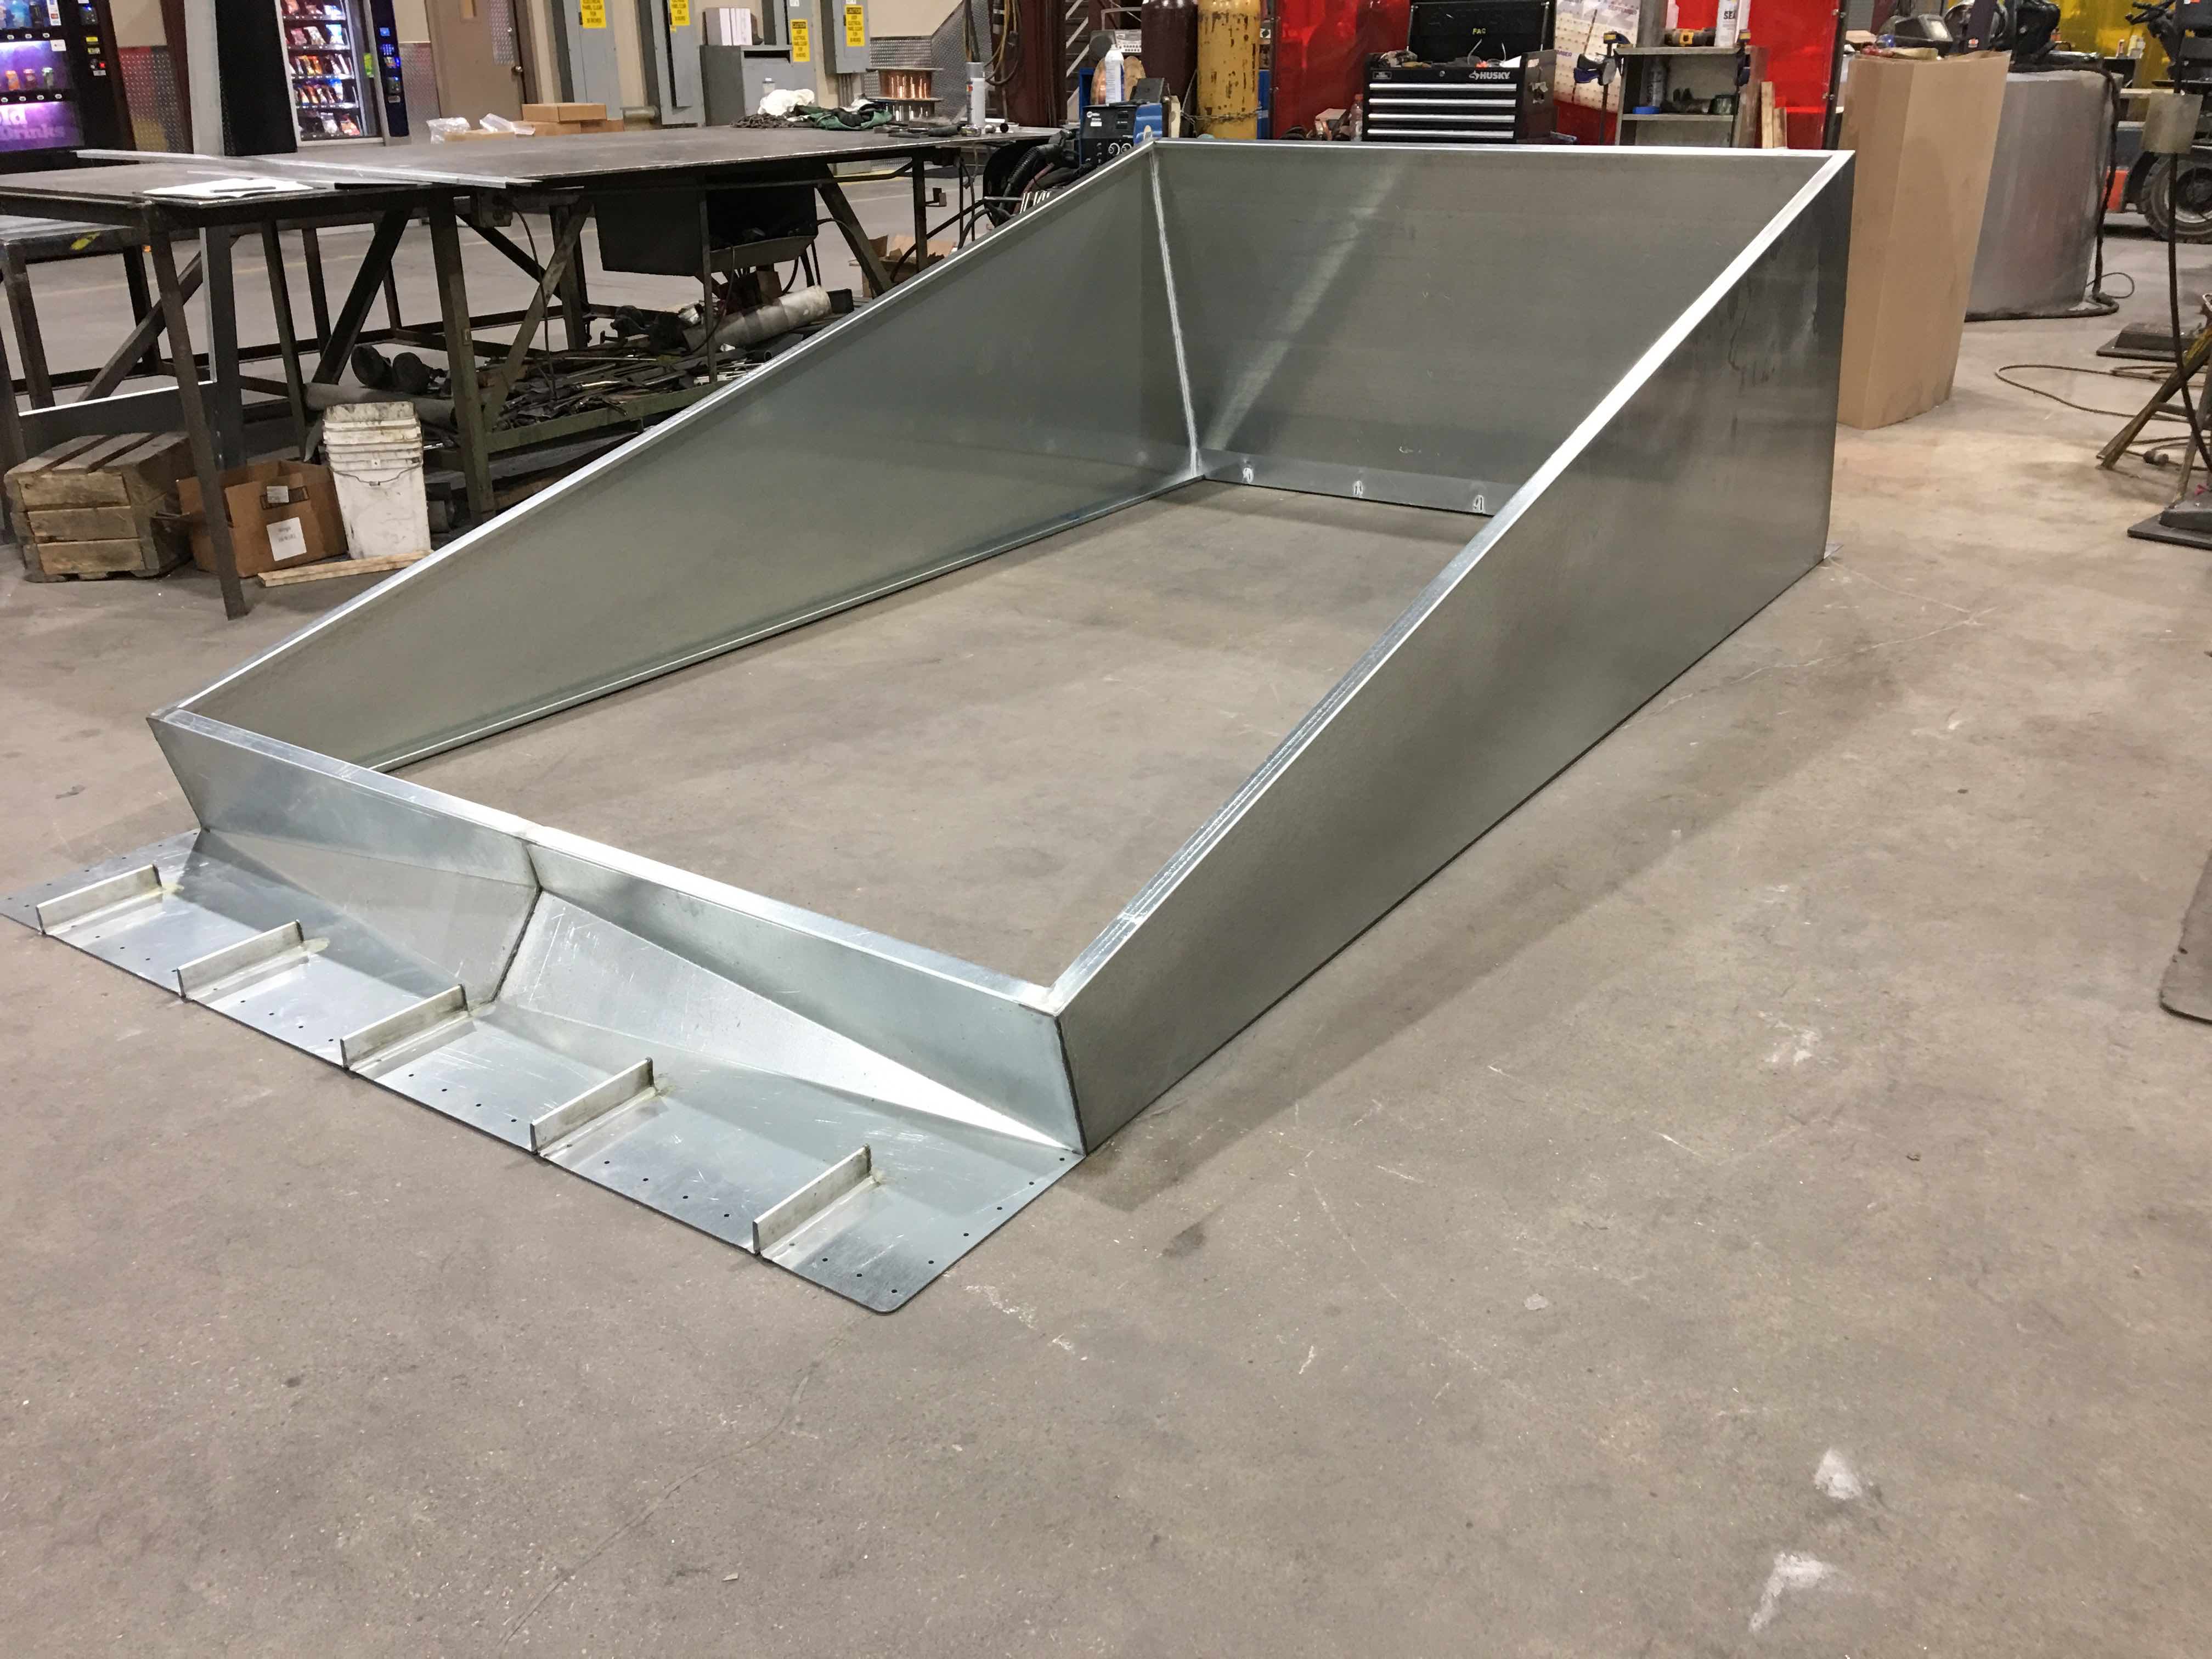
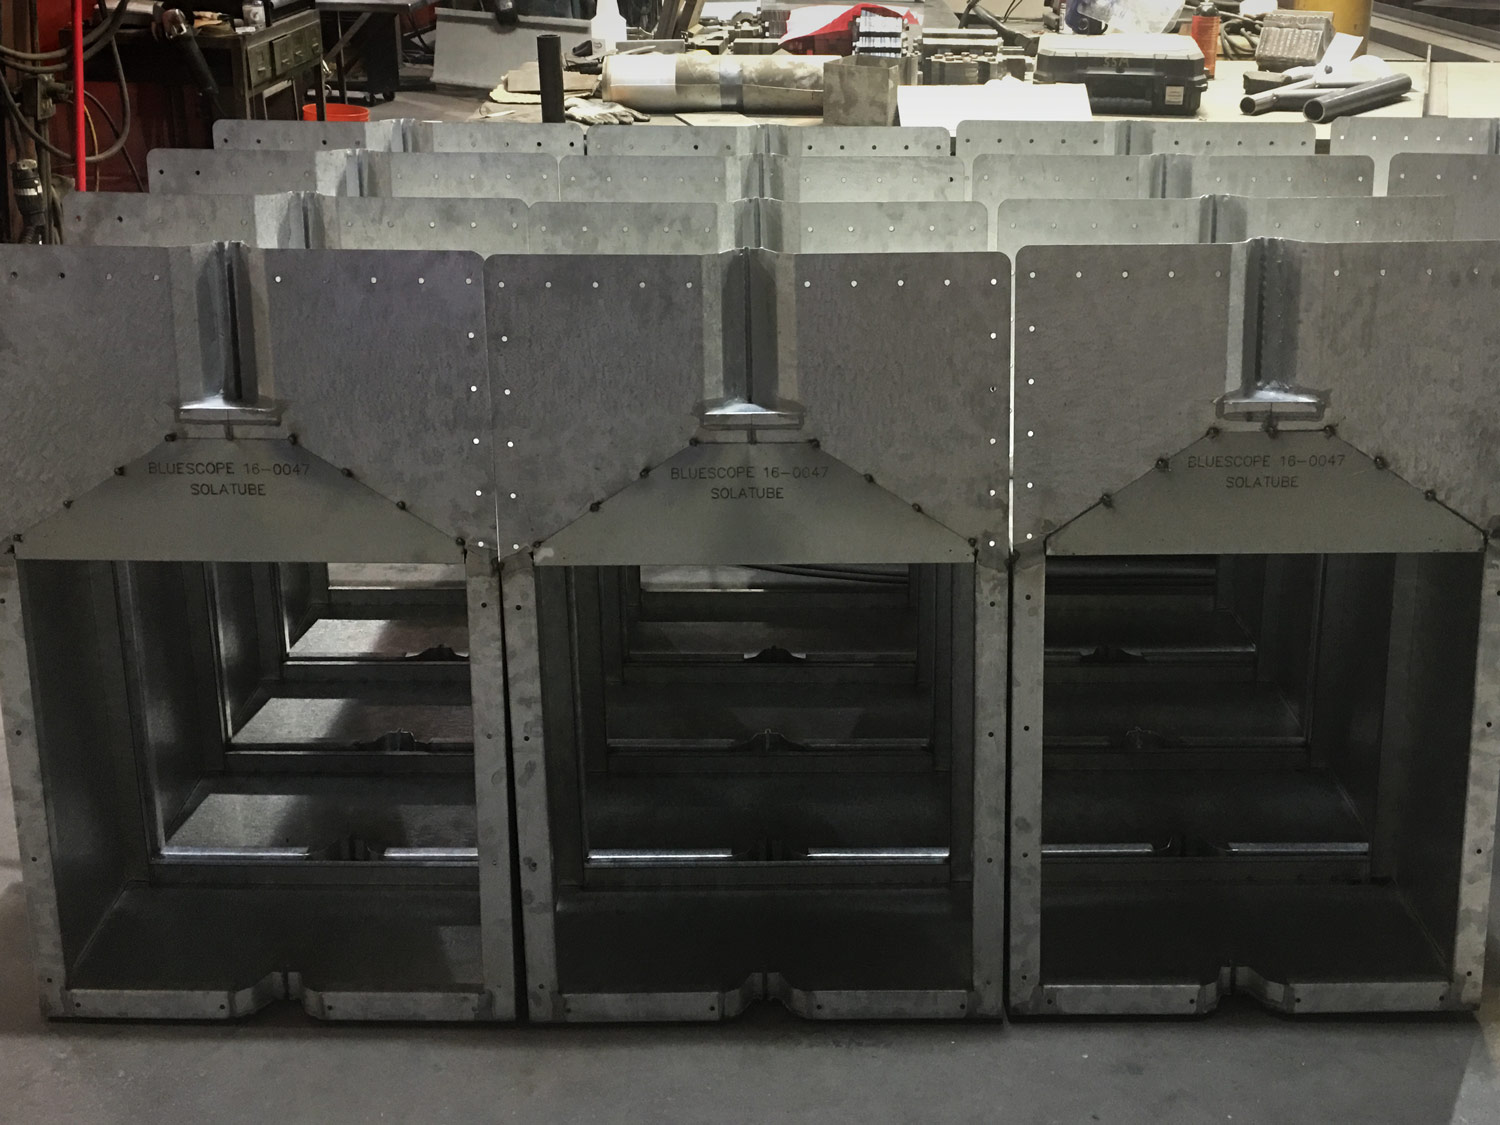
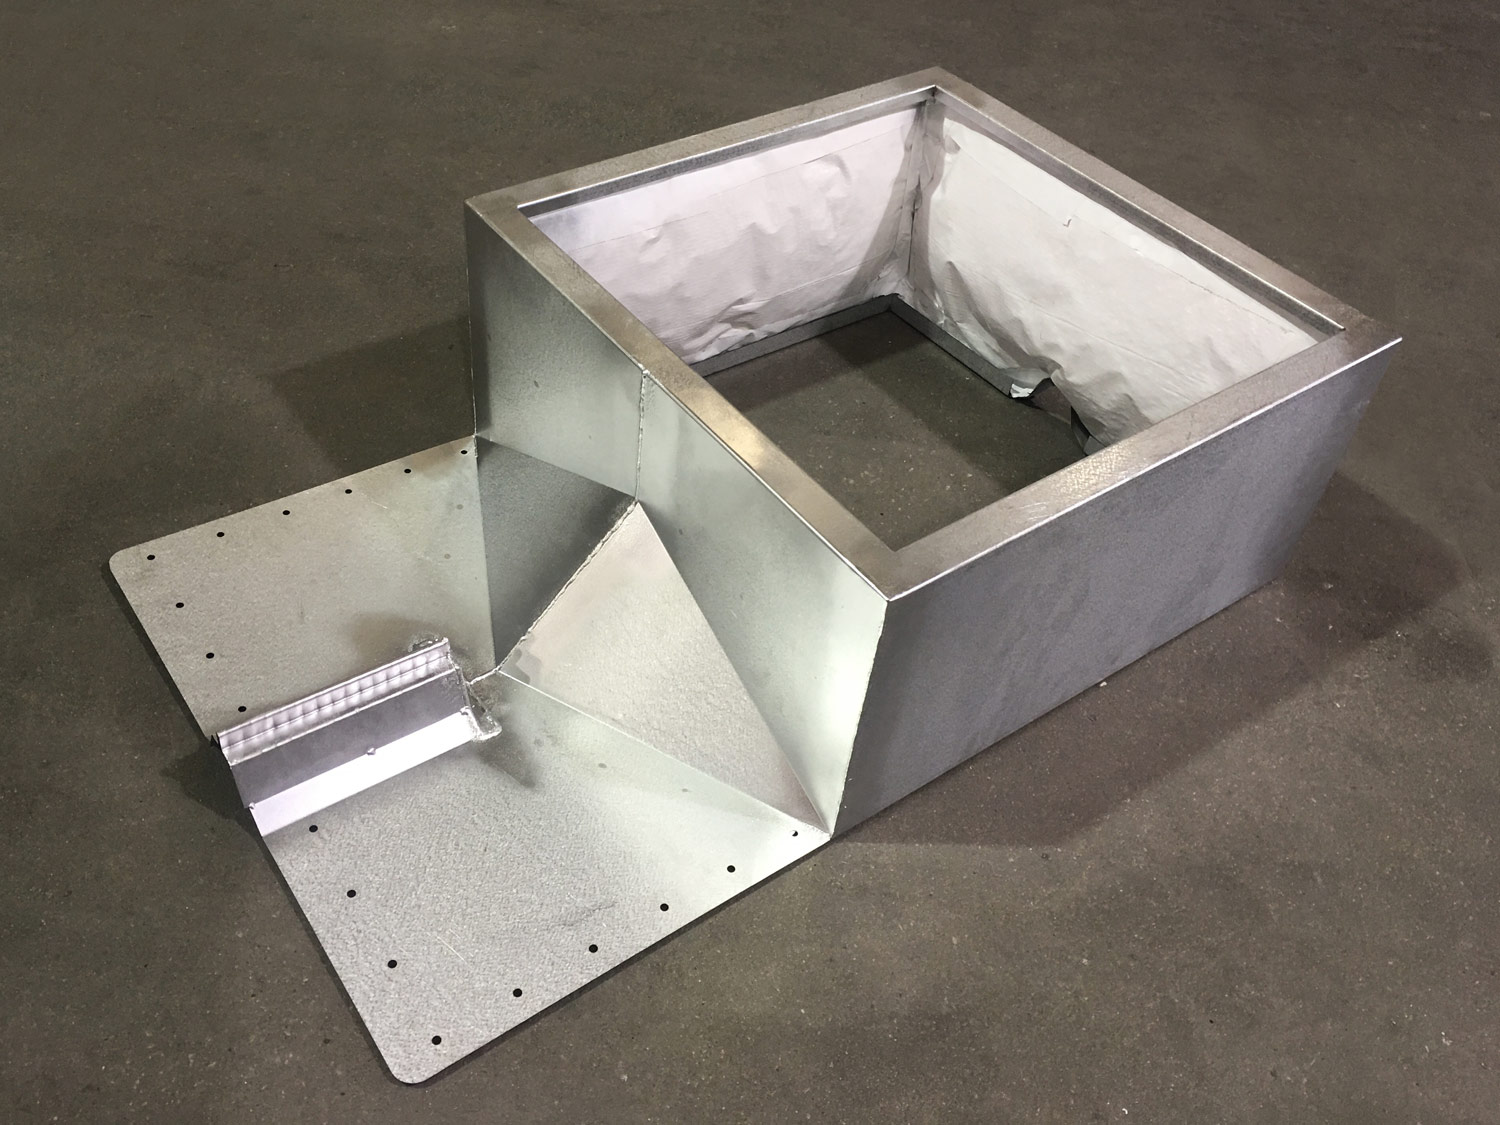
SSM offers a one-of-a-kind patented (US Patent #US 9546485B2) roof curb that comes in one piece with no assembly required – making for easy install.
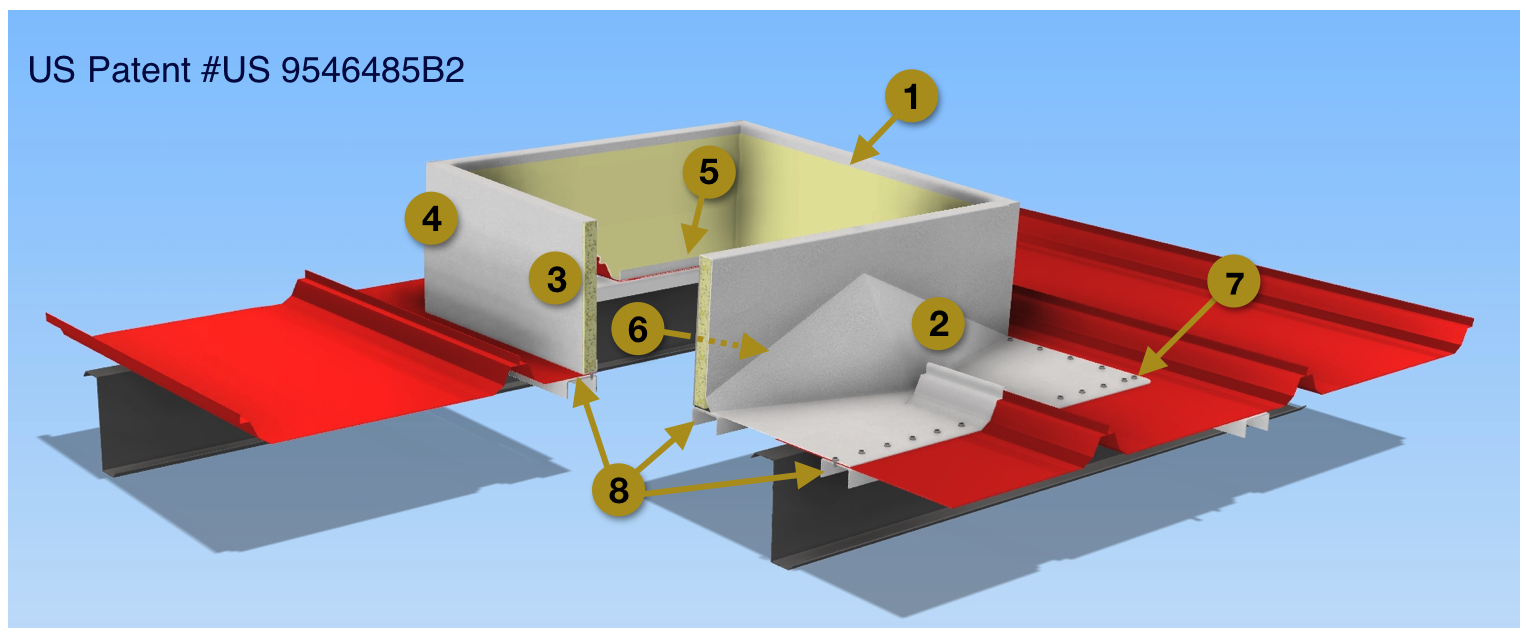
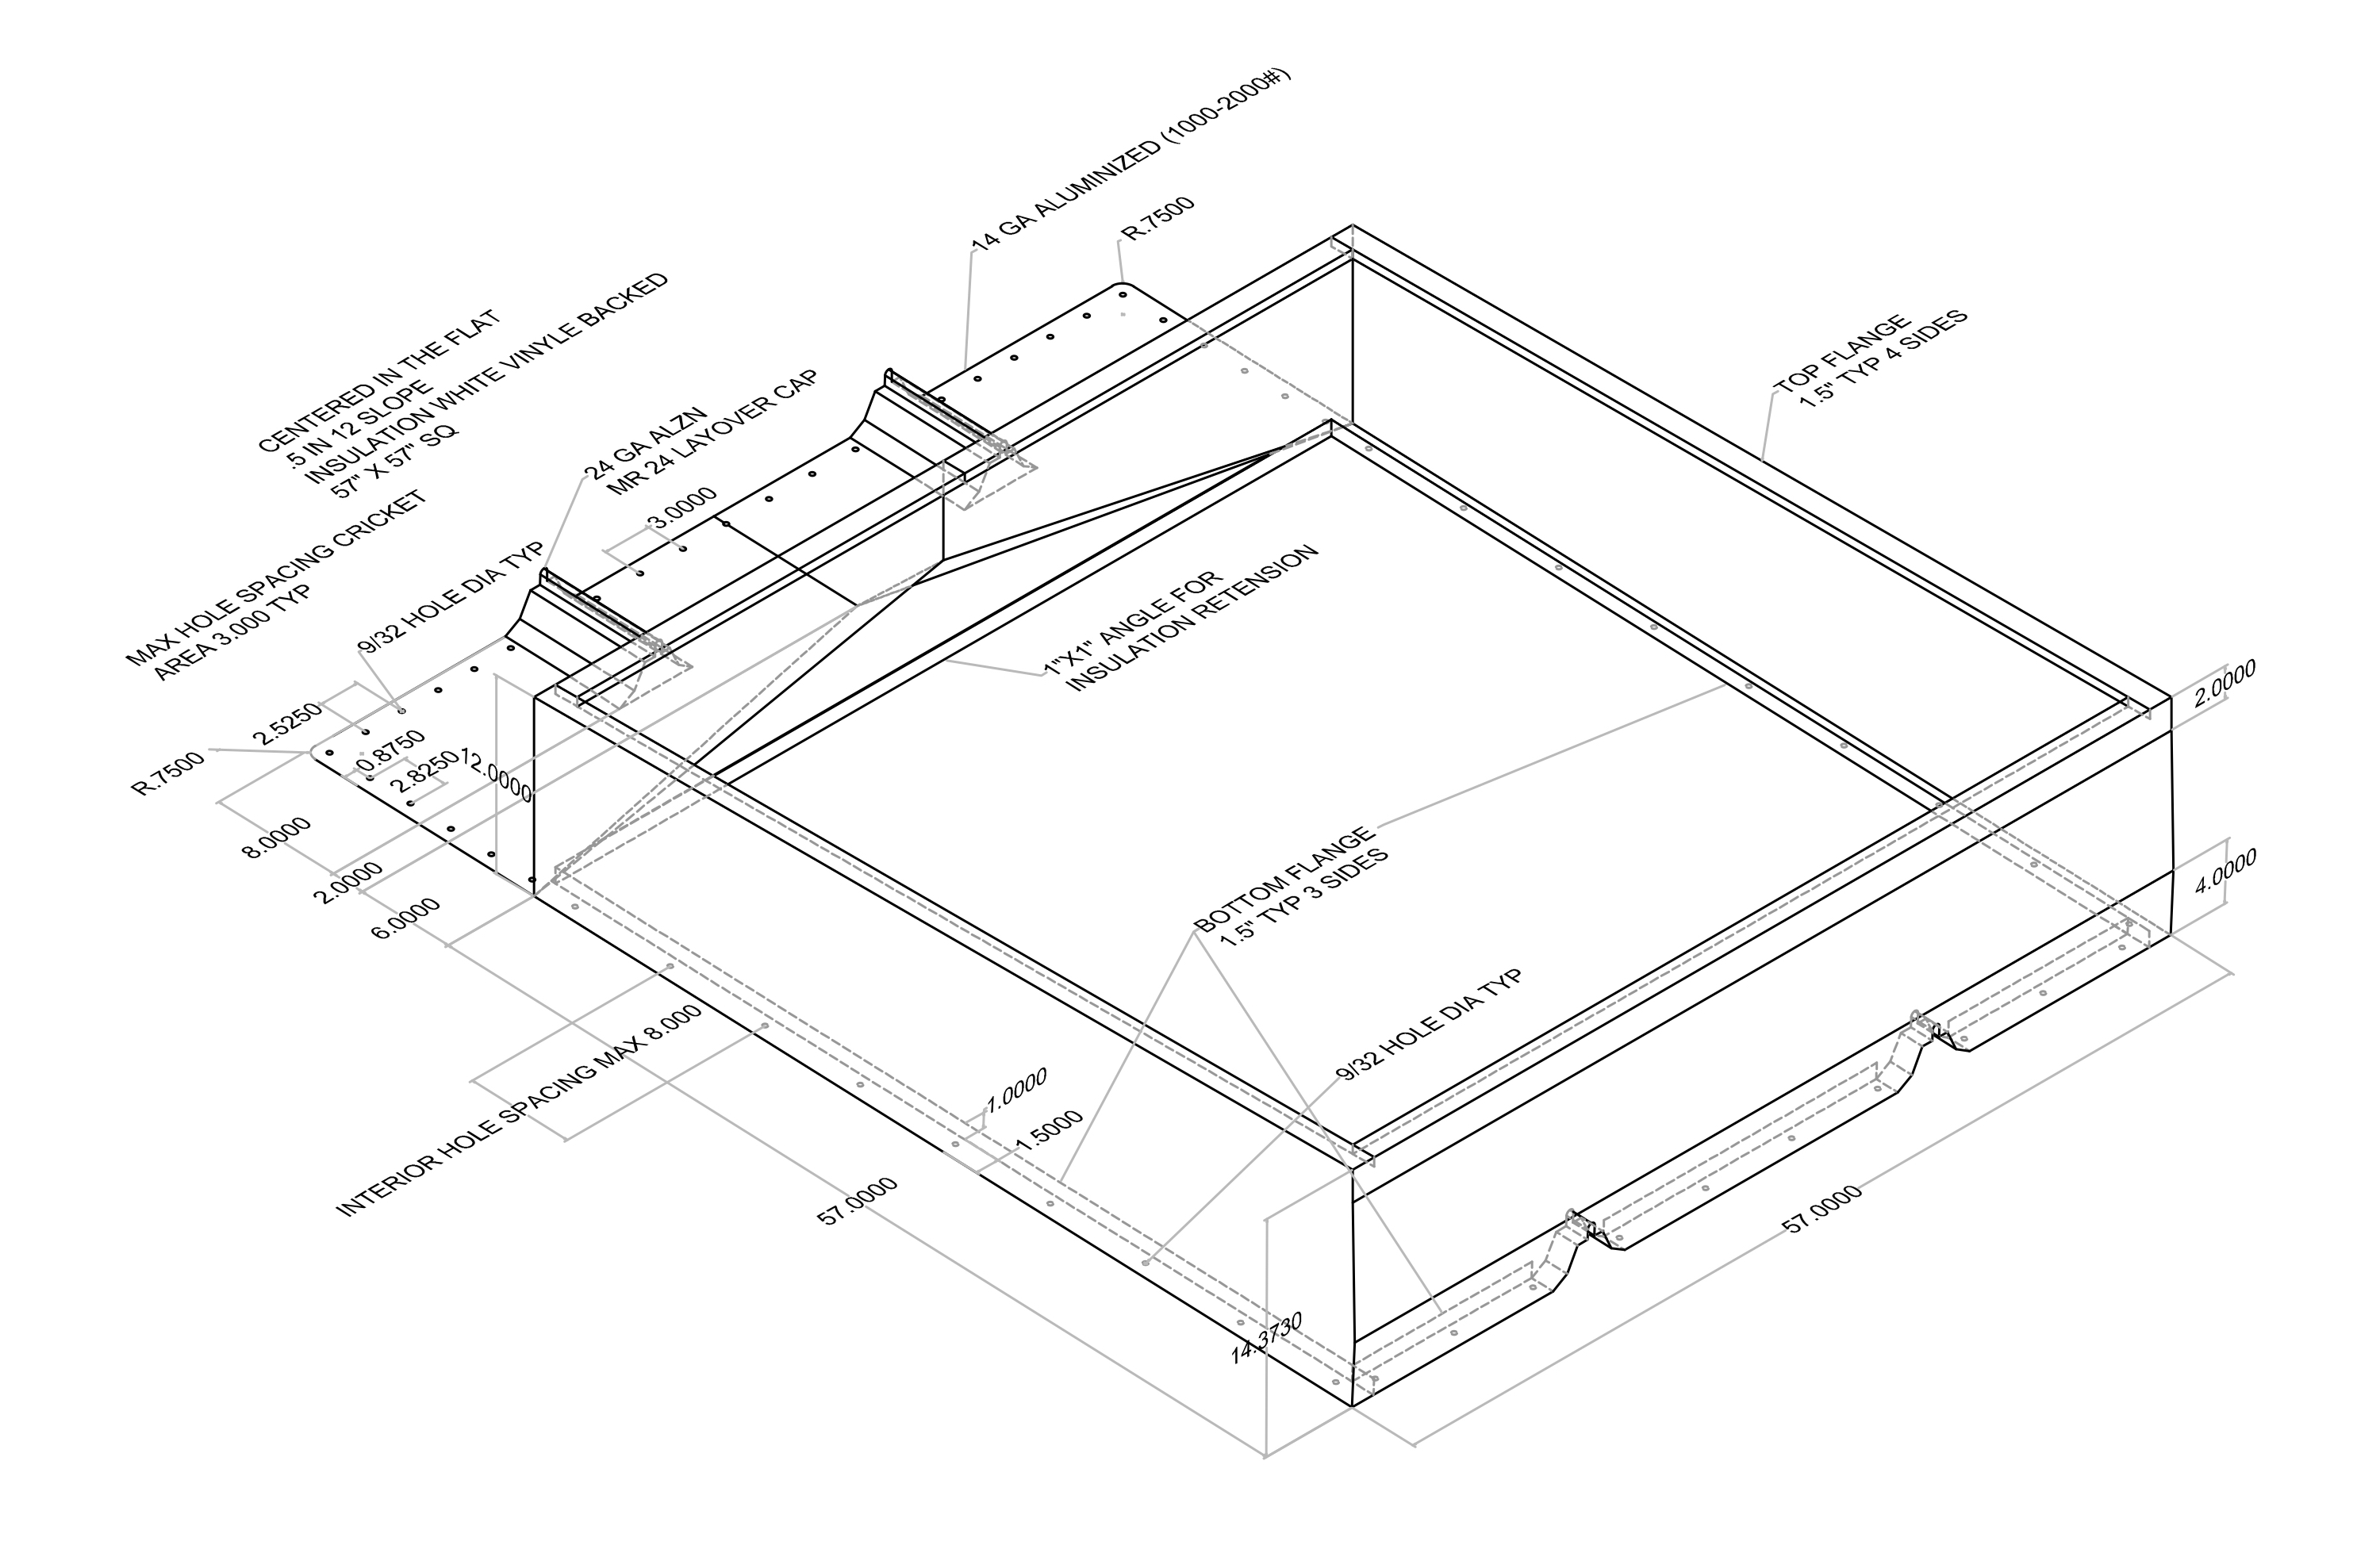
1. 24 gauge Galvalume®, welded cap is part of our patented design.
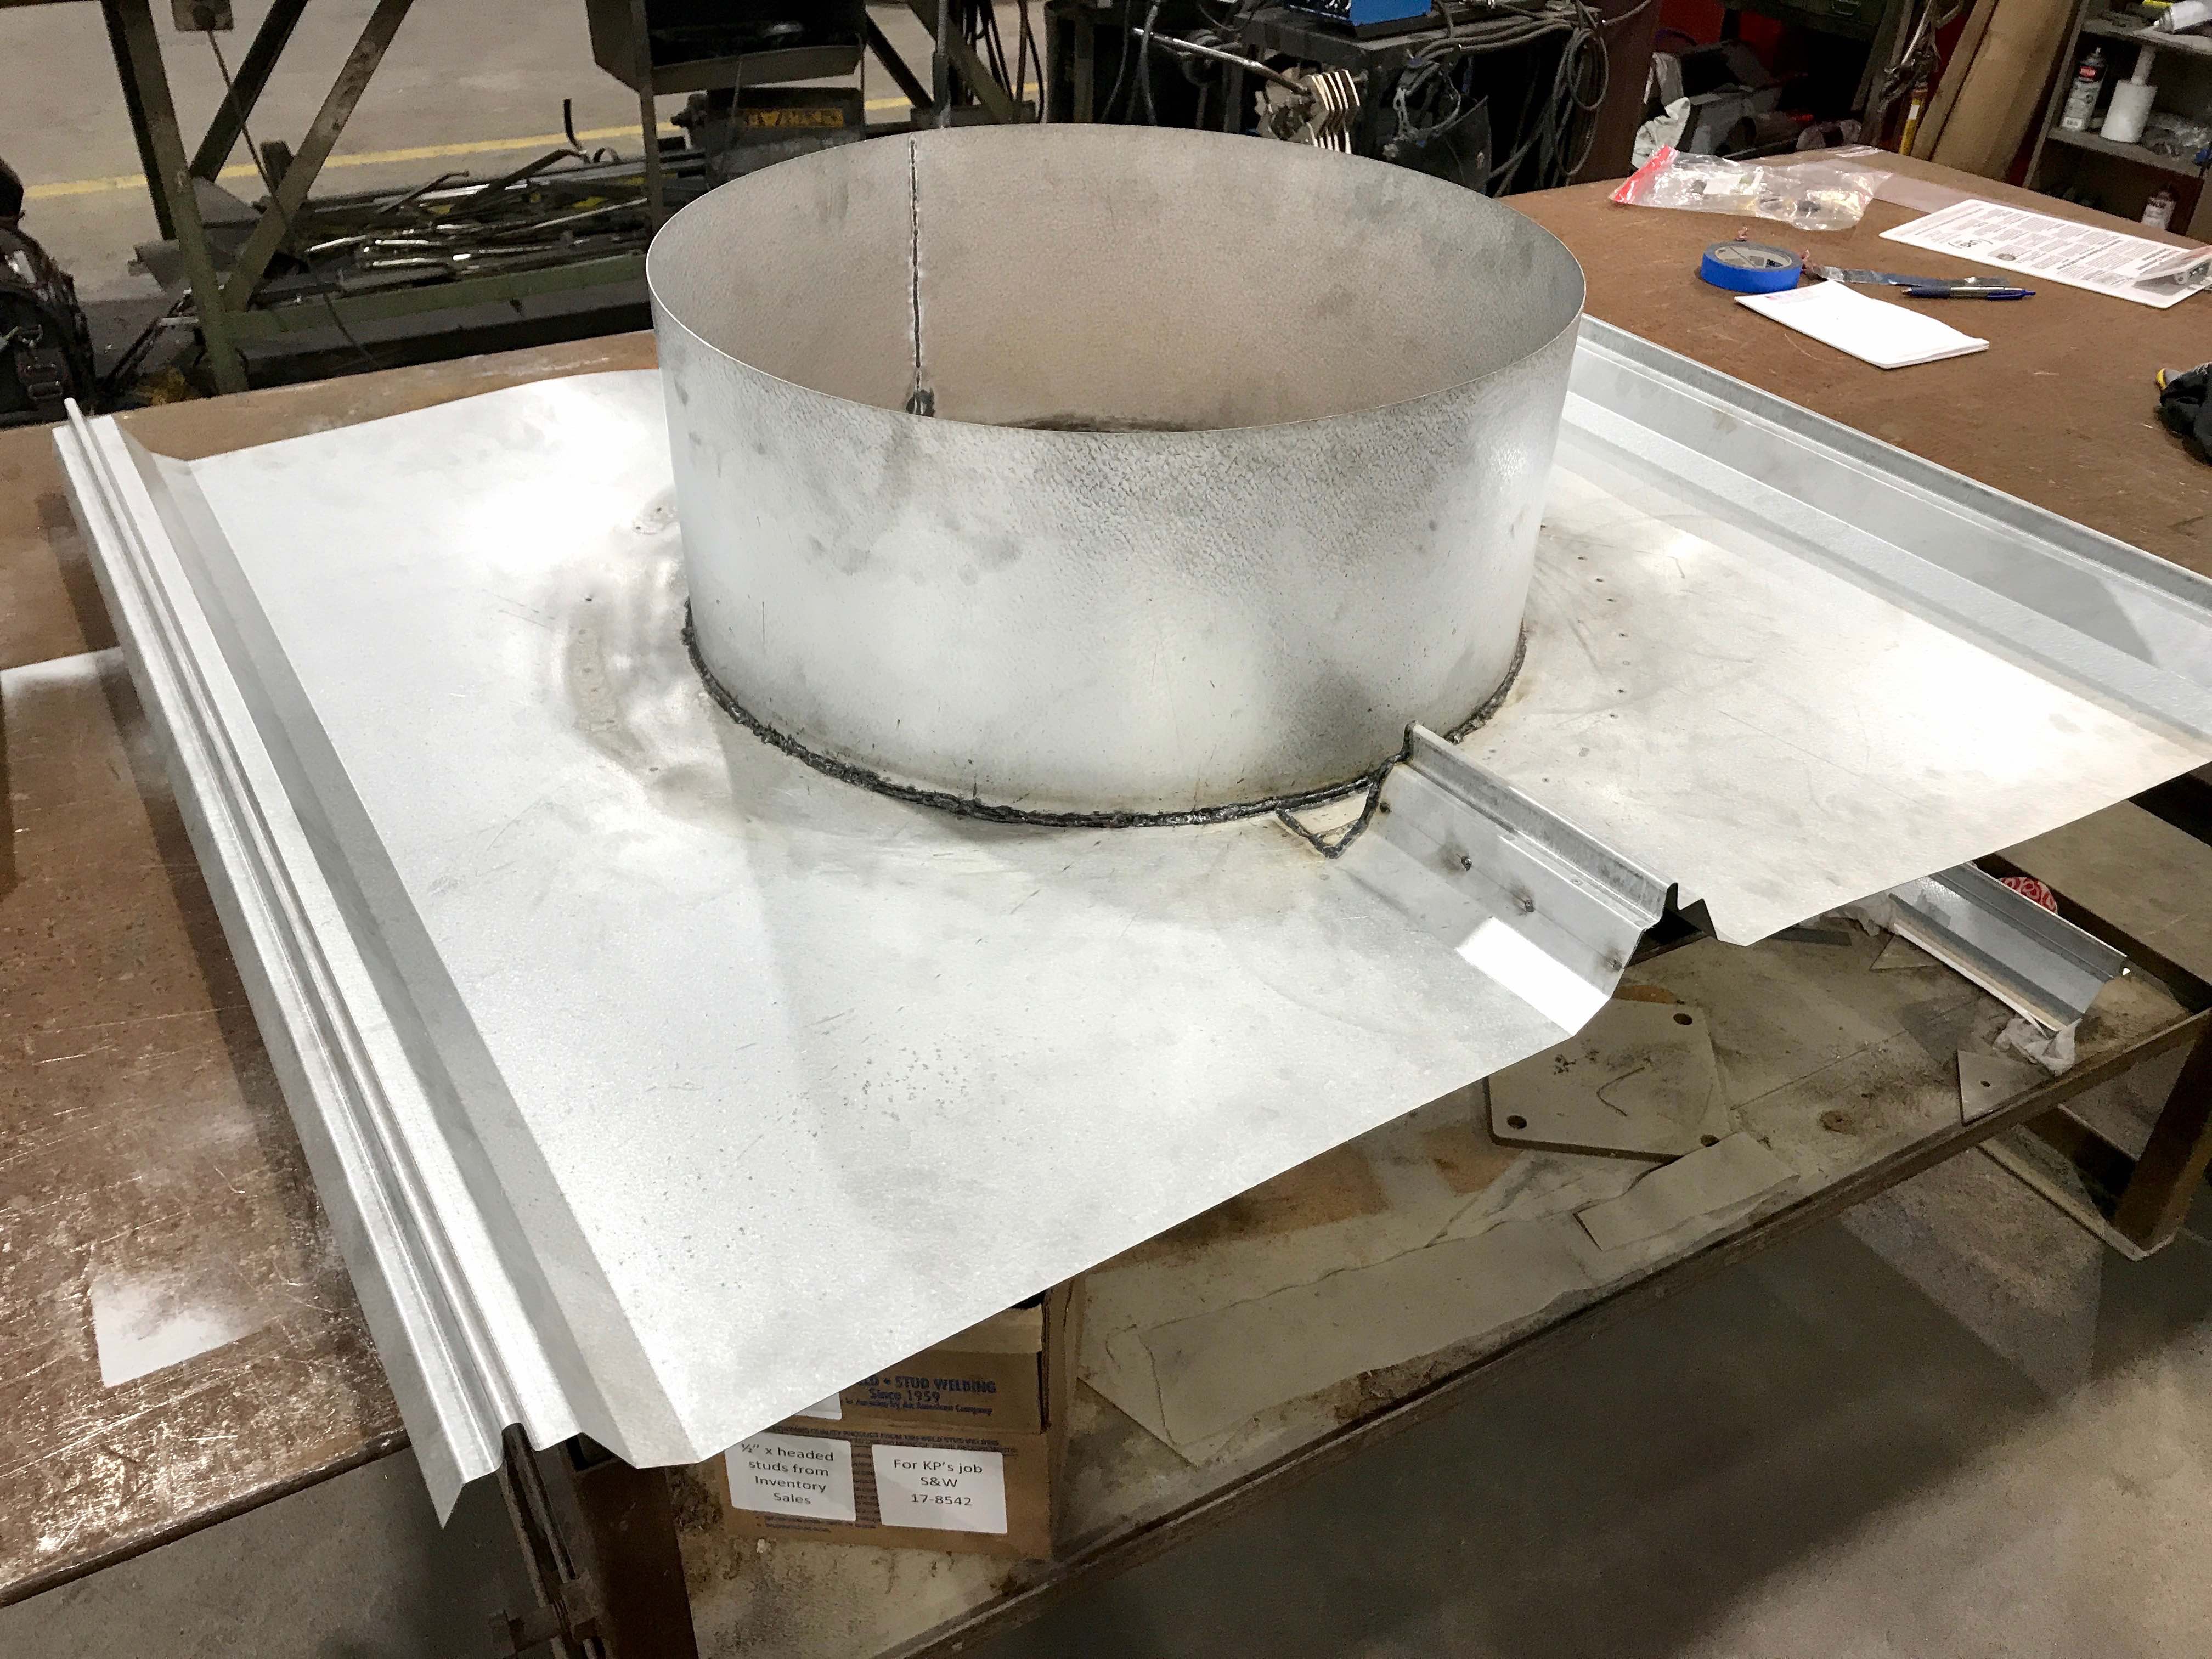
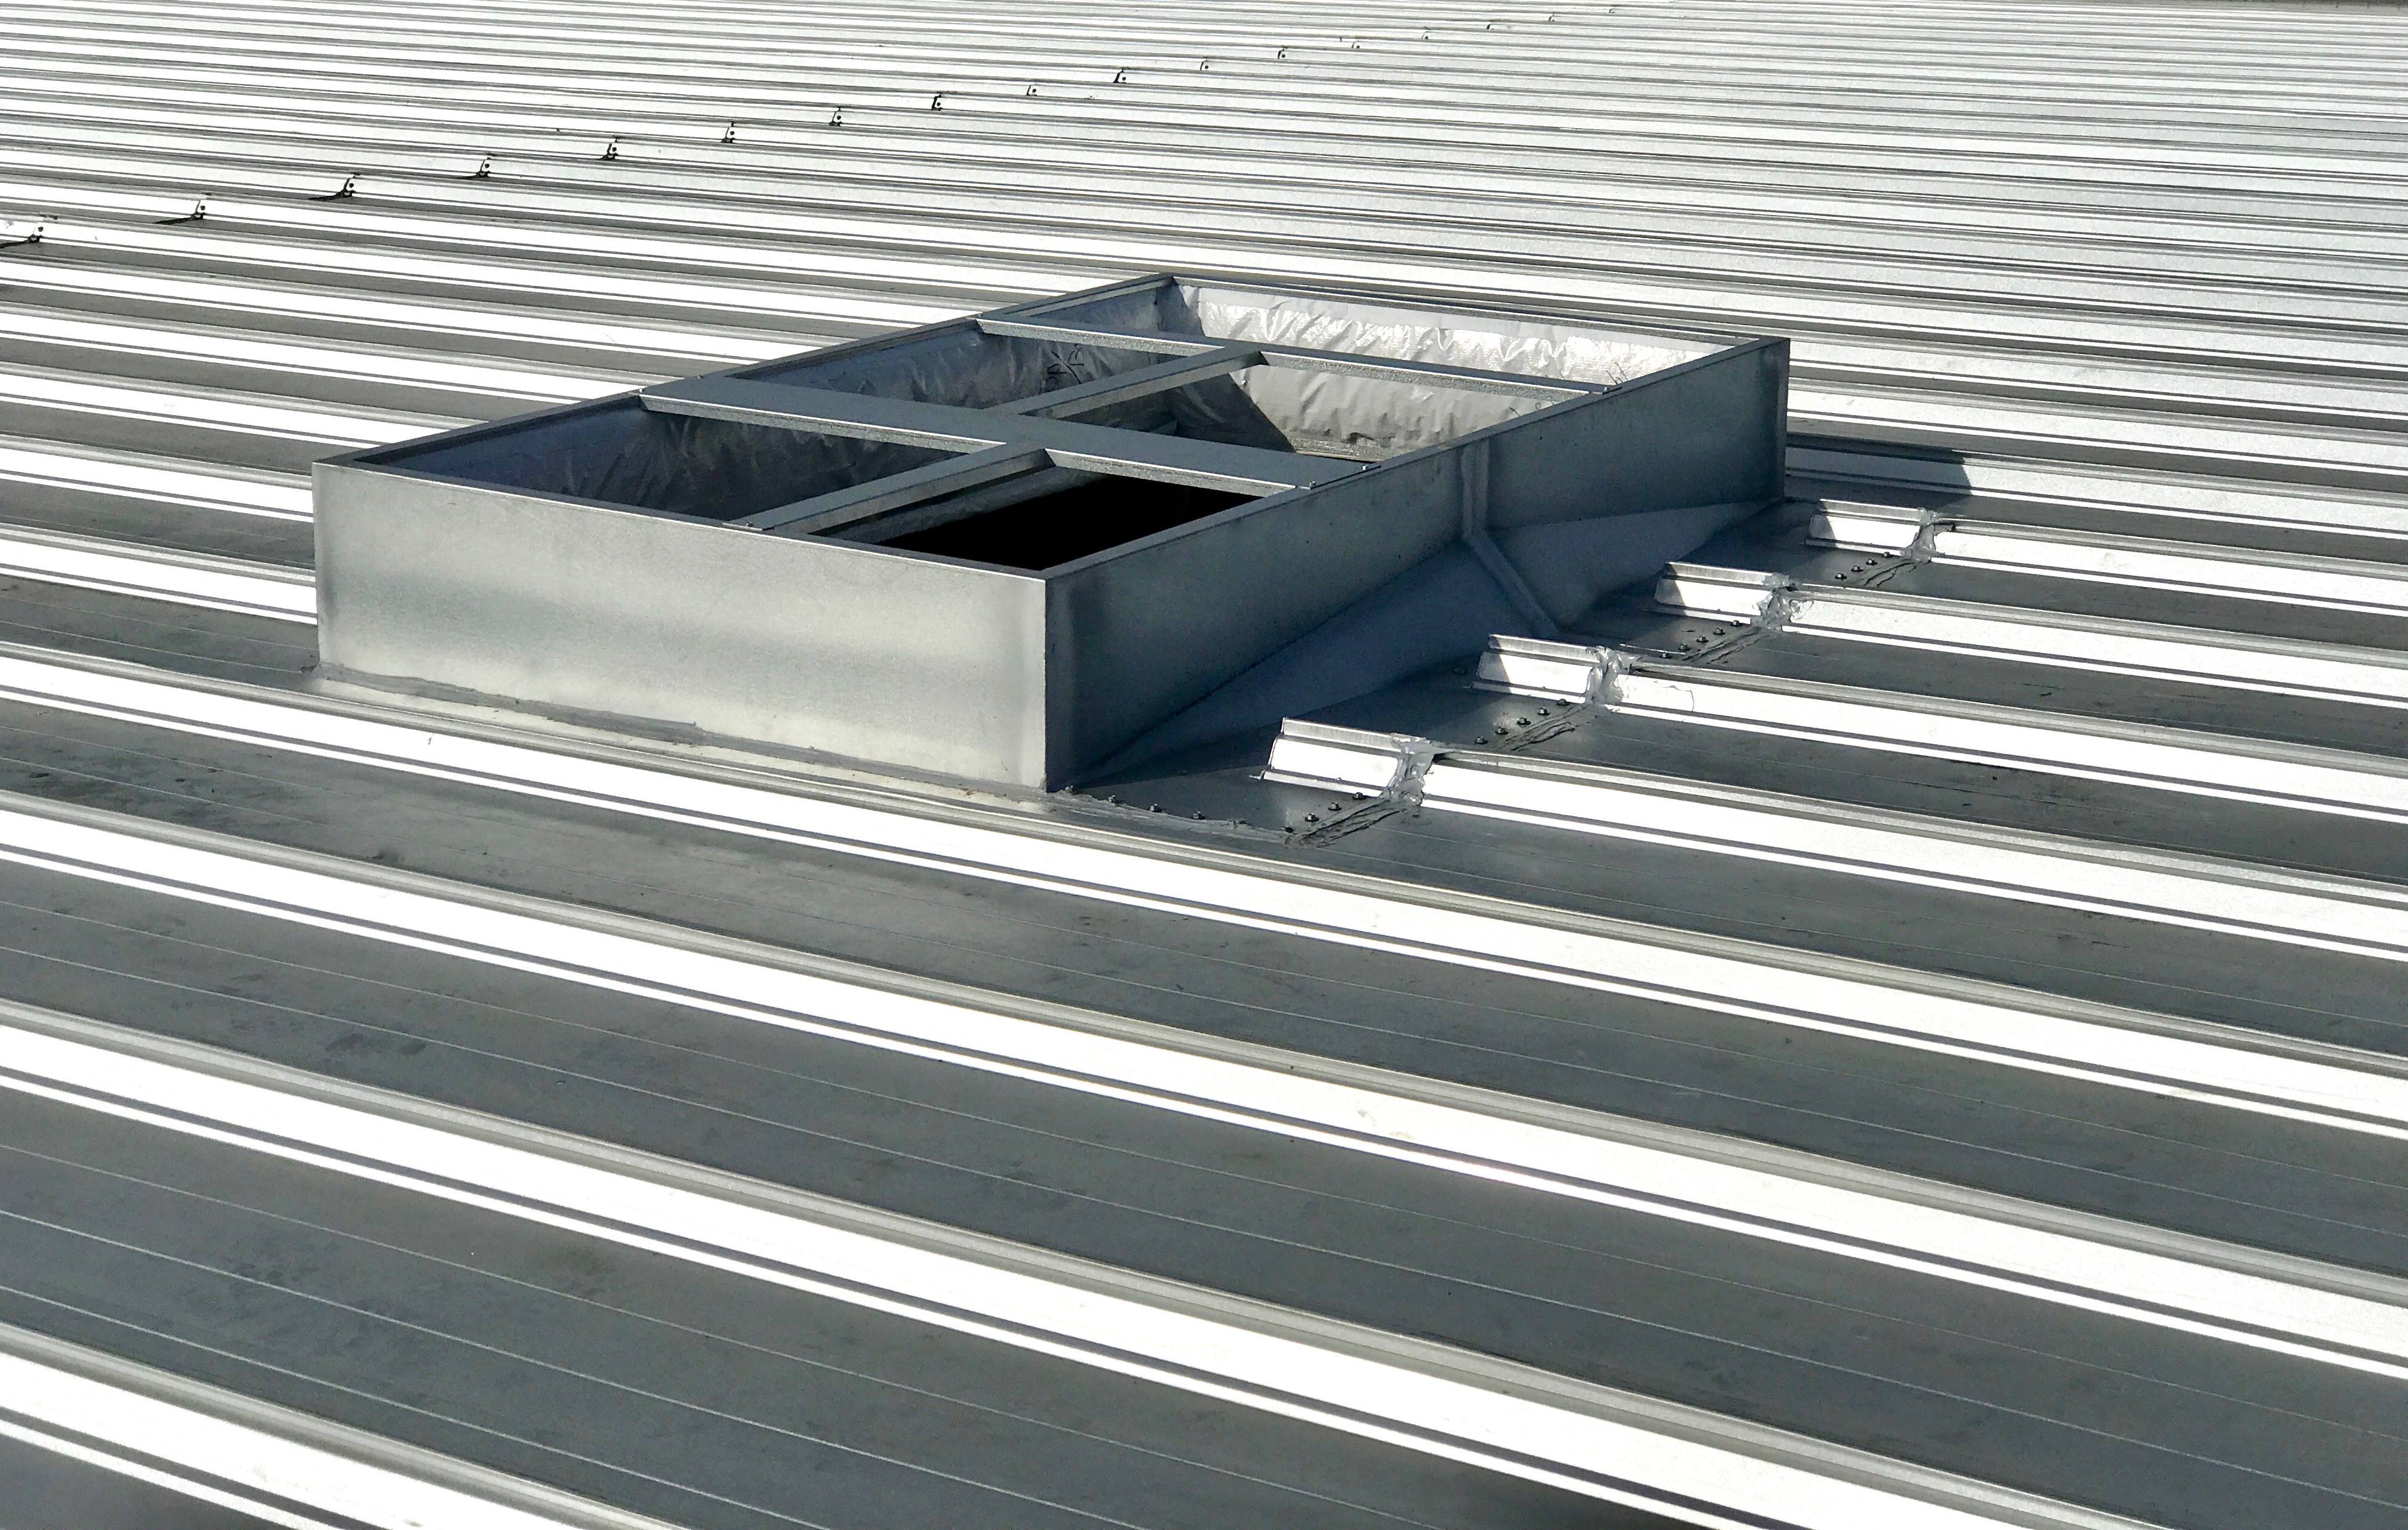
2. Integral water diverter cricket.
3. Except as noted, our components are 18 ga. Galvalume®. Our
standard Top Flange is 1 1/2” wide but this can vary depending upon your job requirements.
4. Standard height is 10”and sloped to the roof pitch to provide a level mounting surface, based upon your project’s specific needs.
5. The bottom flange, found on 3 sides, is also 1 1/2” wide but custom widths are available.
6. The interior of the Cricket is fully enclosed and can be insulated to meet your requirements.
7. Pre-laid out fastener holes, 9/32” in diameter, are placed at 3” [max.] centers around the full curb perimeter.
8. Purlins, enhance stability of the roof, improving both safety and performance.
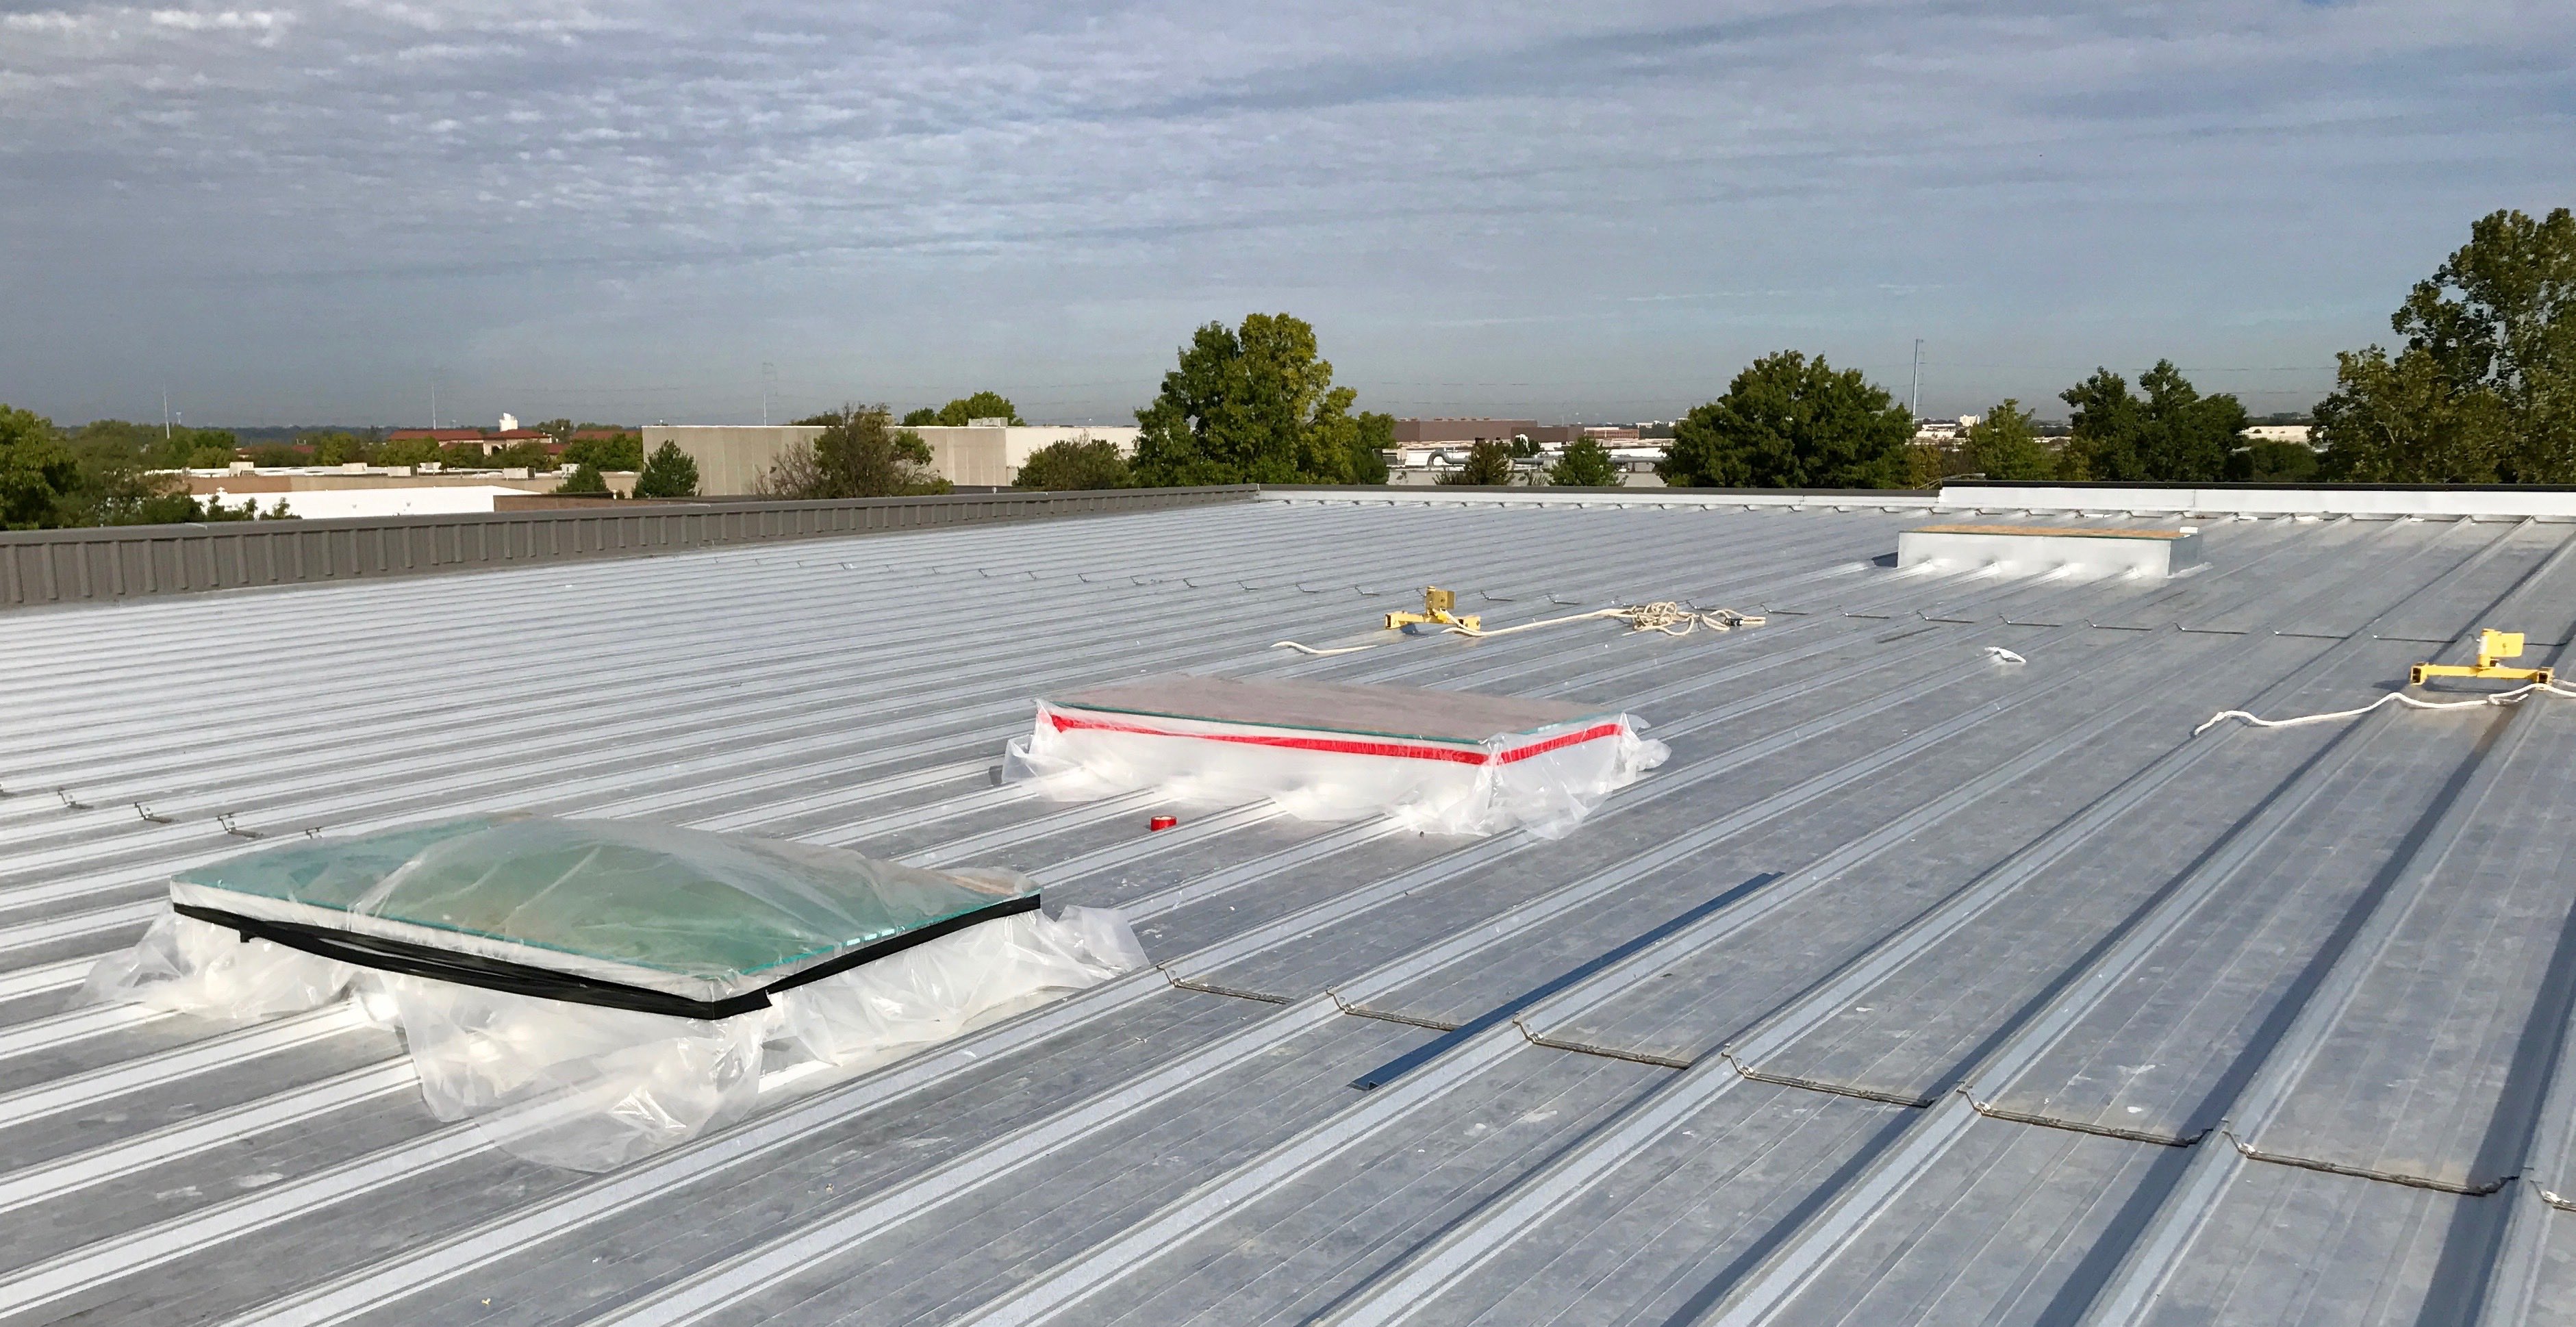
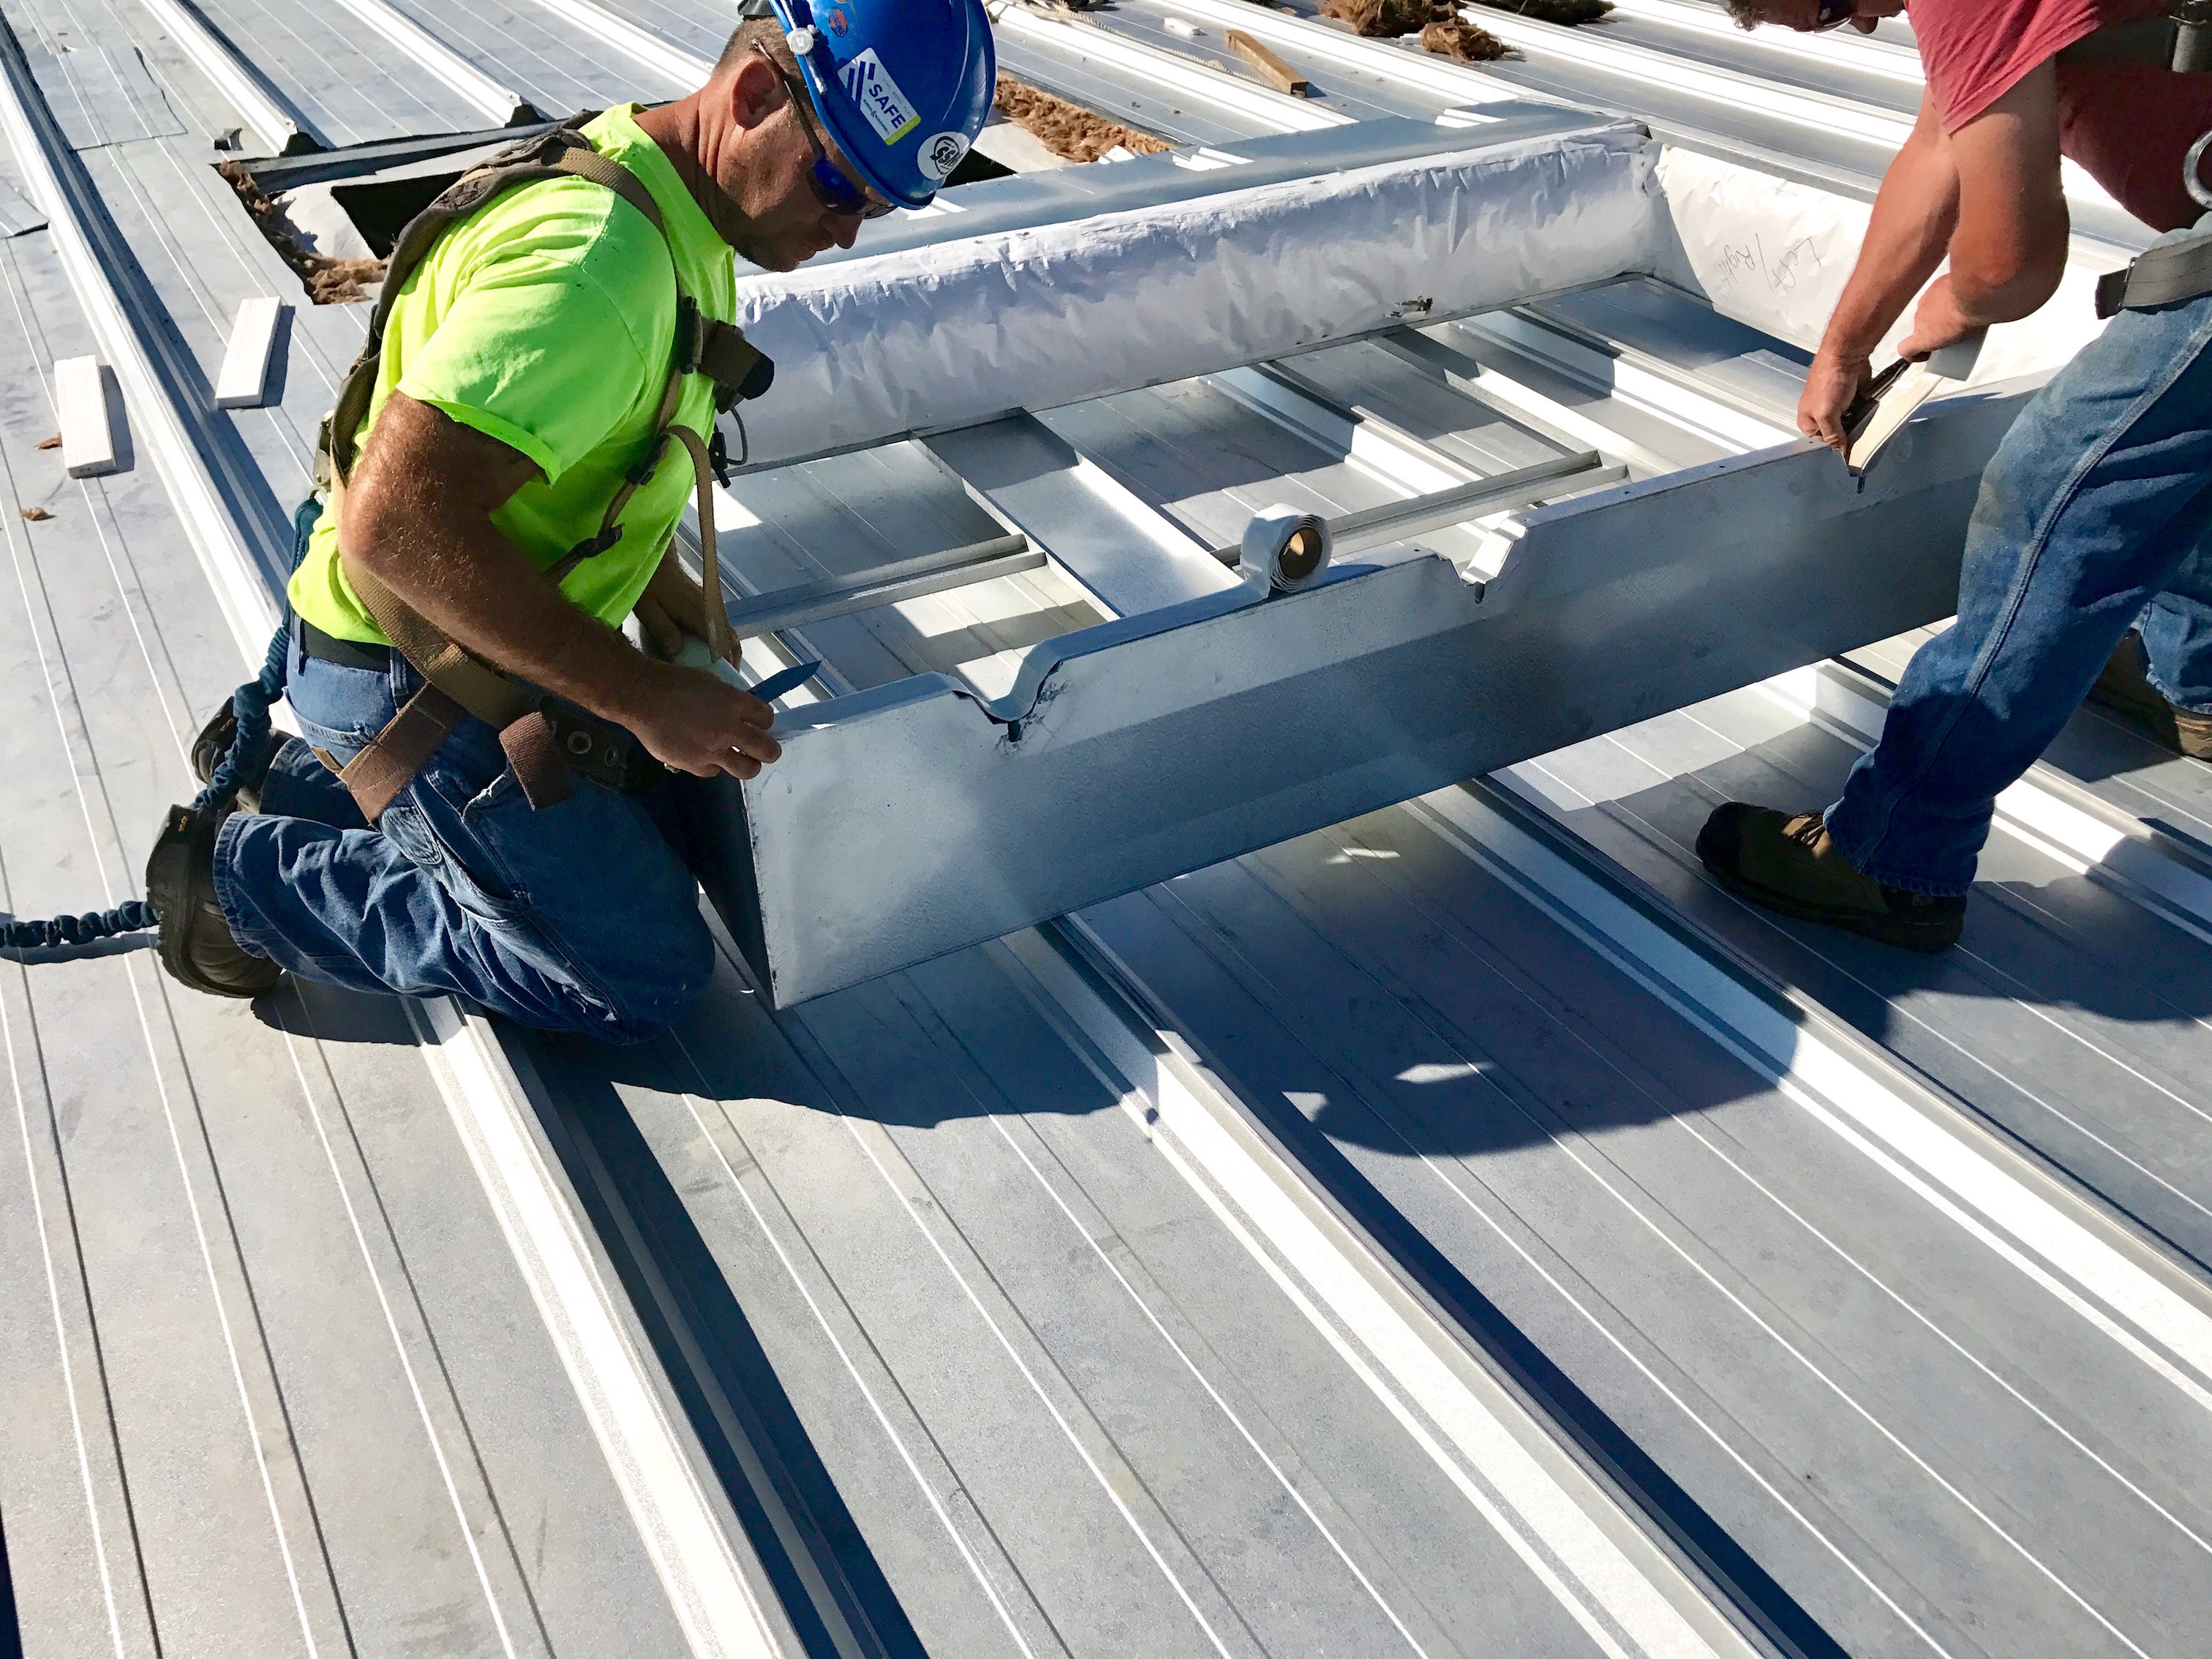
+Phase 1: Prep Your Spot
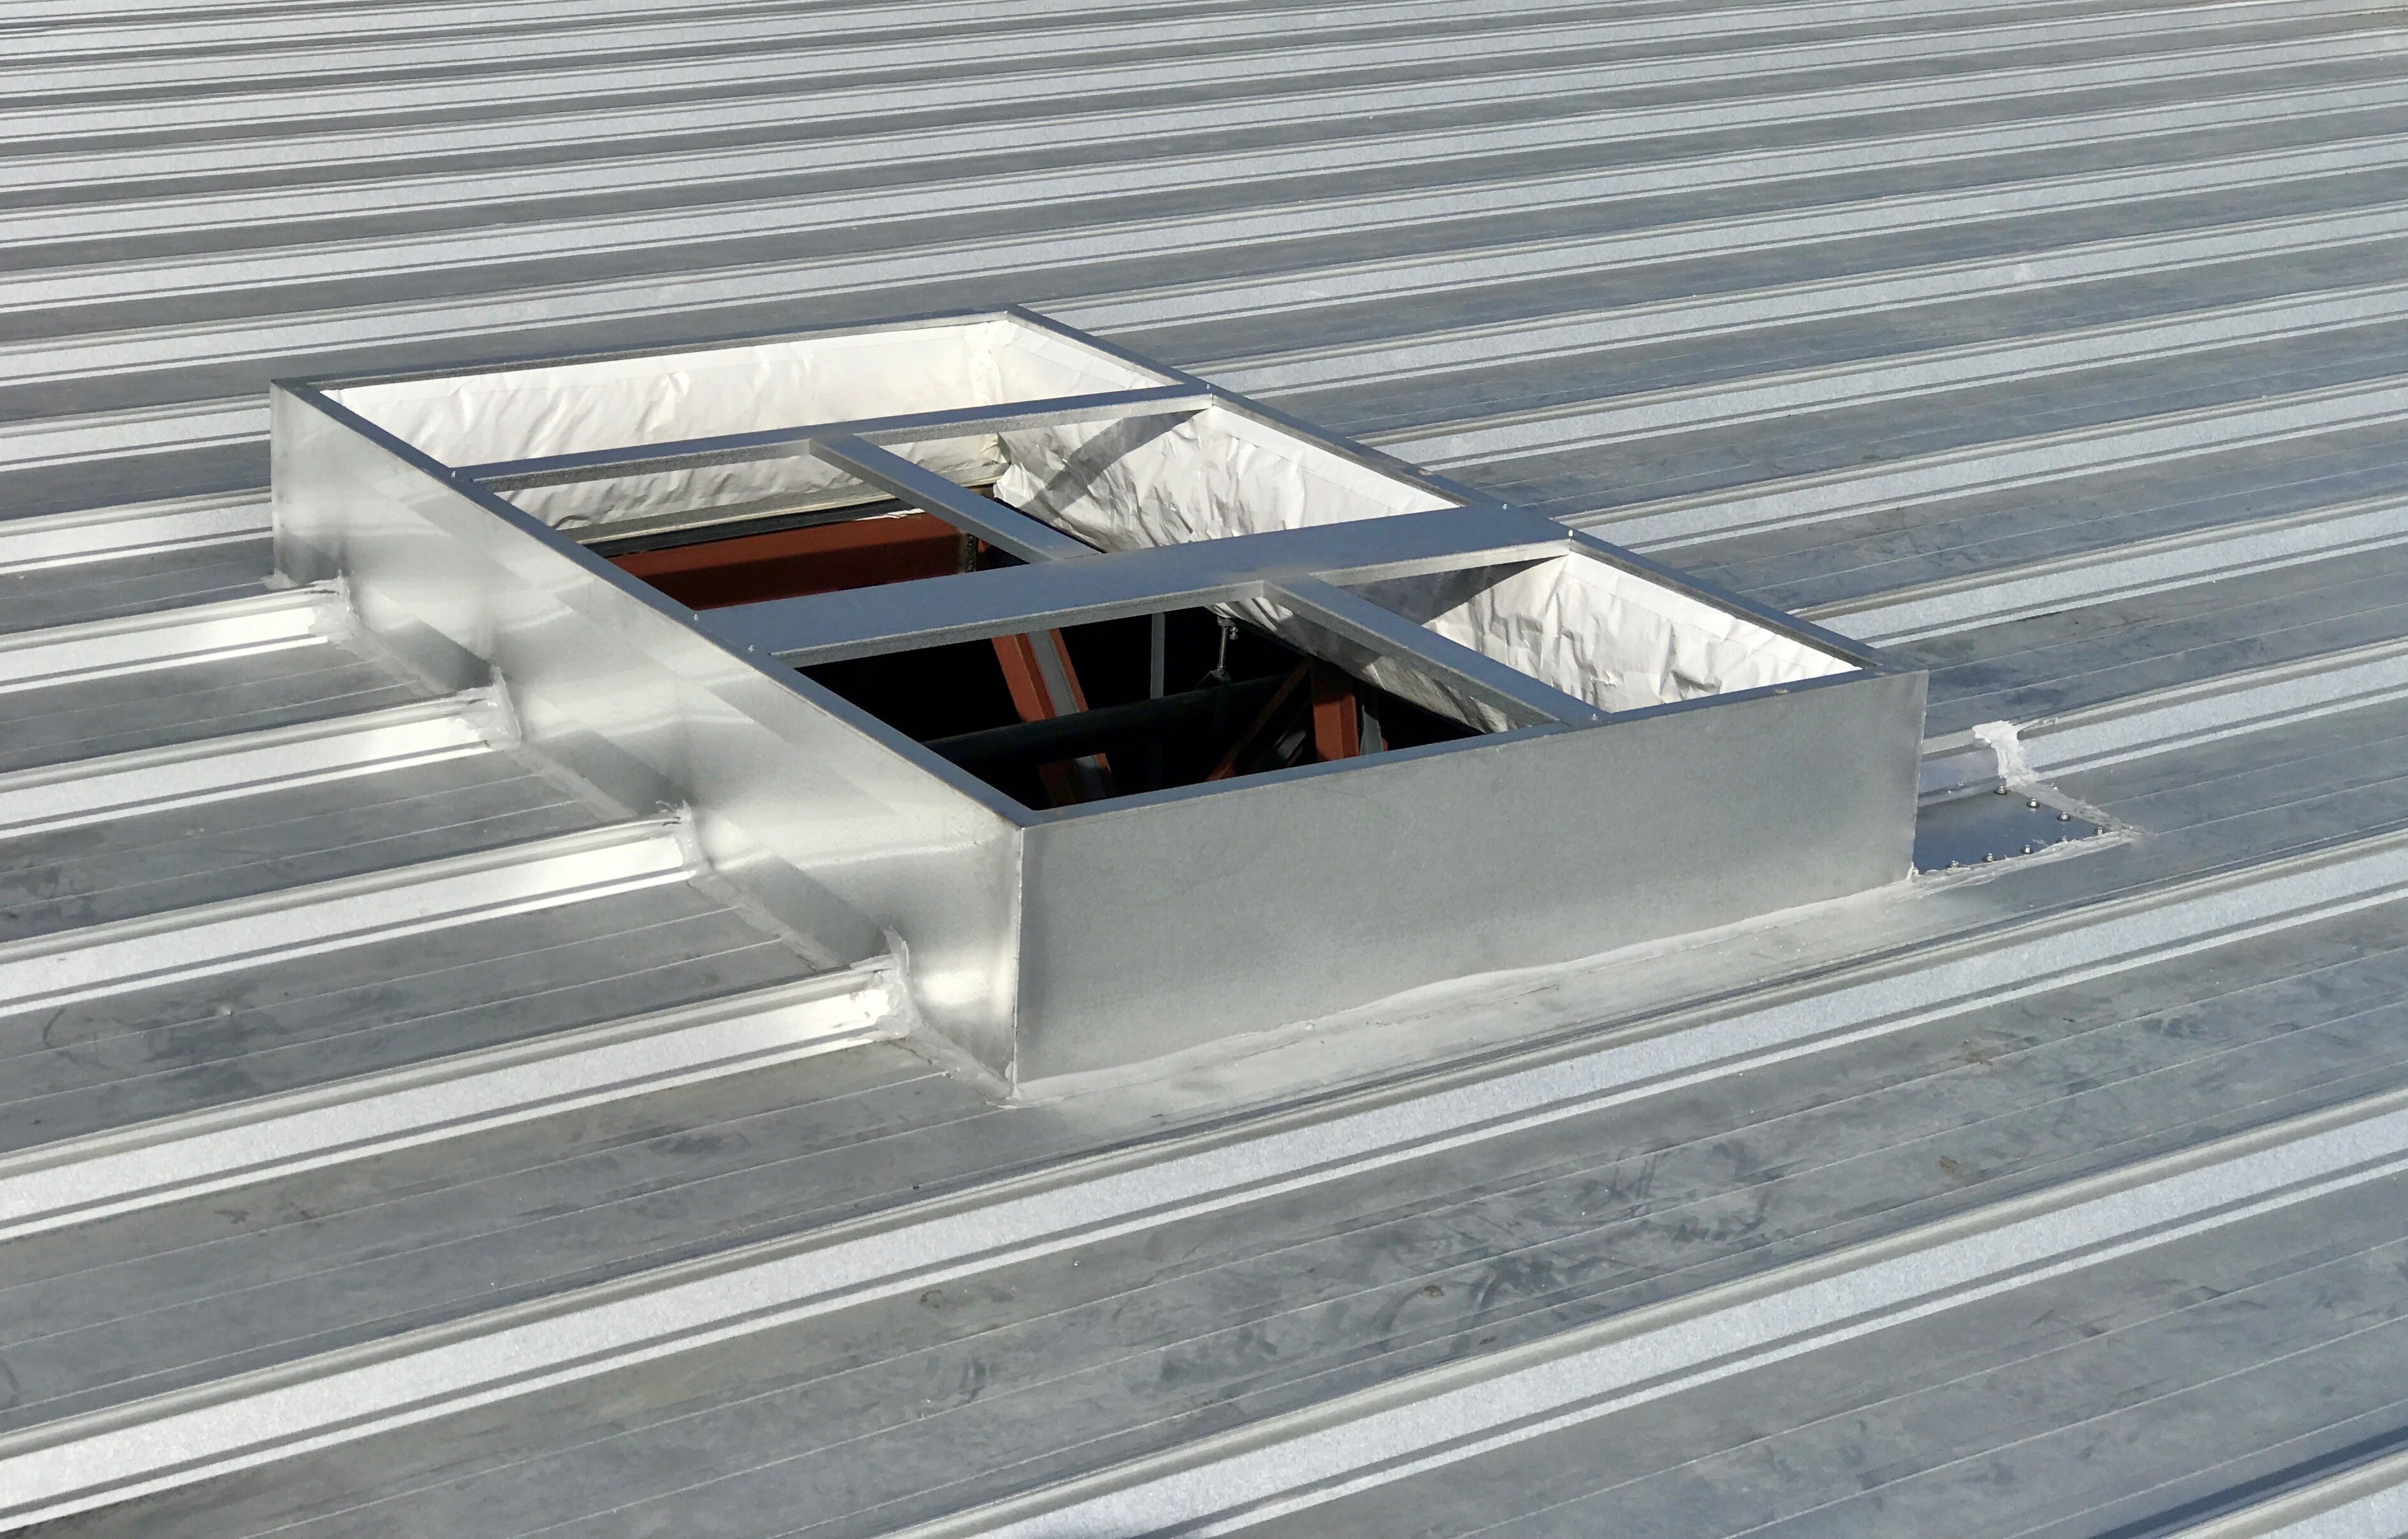
Engineered for ease of Installation, SSM‘s one piece hybrid curb solution is designed to make installation easy.
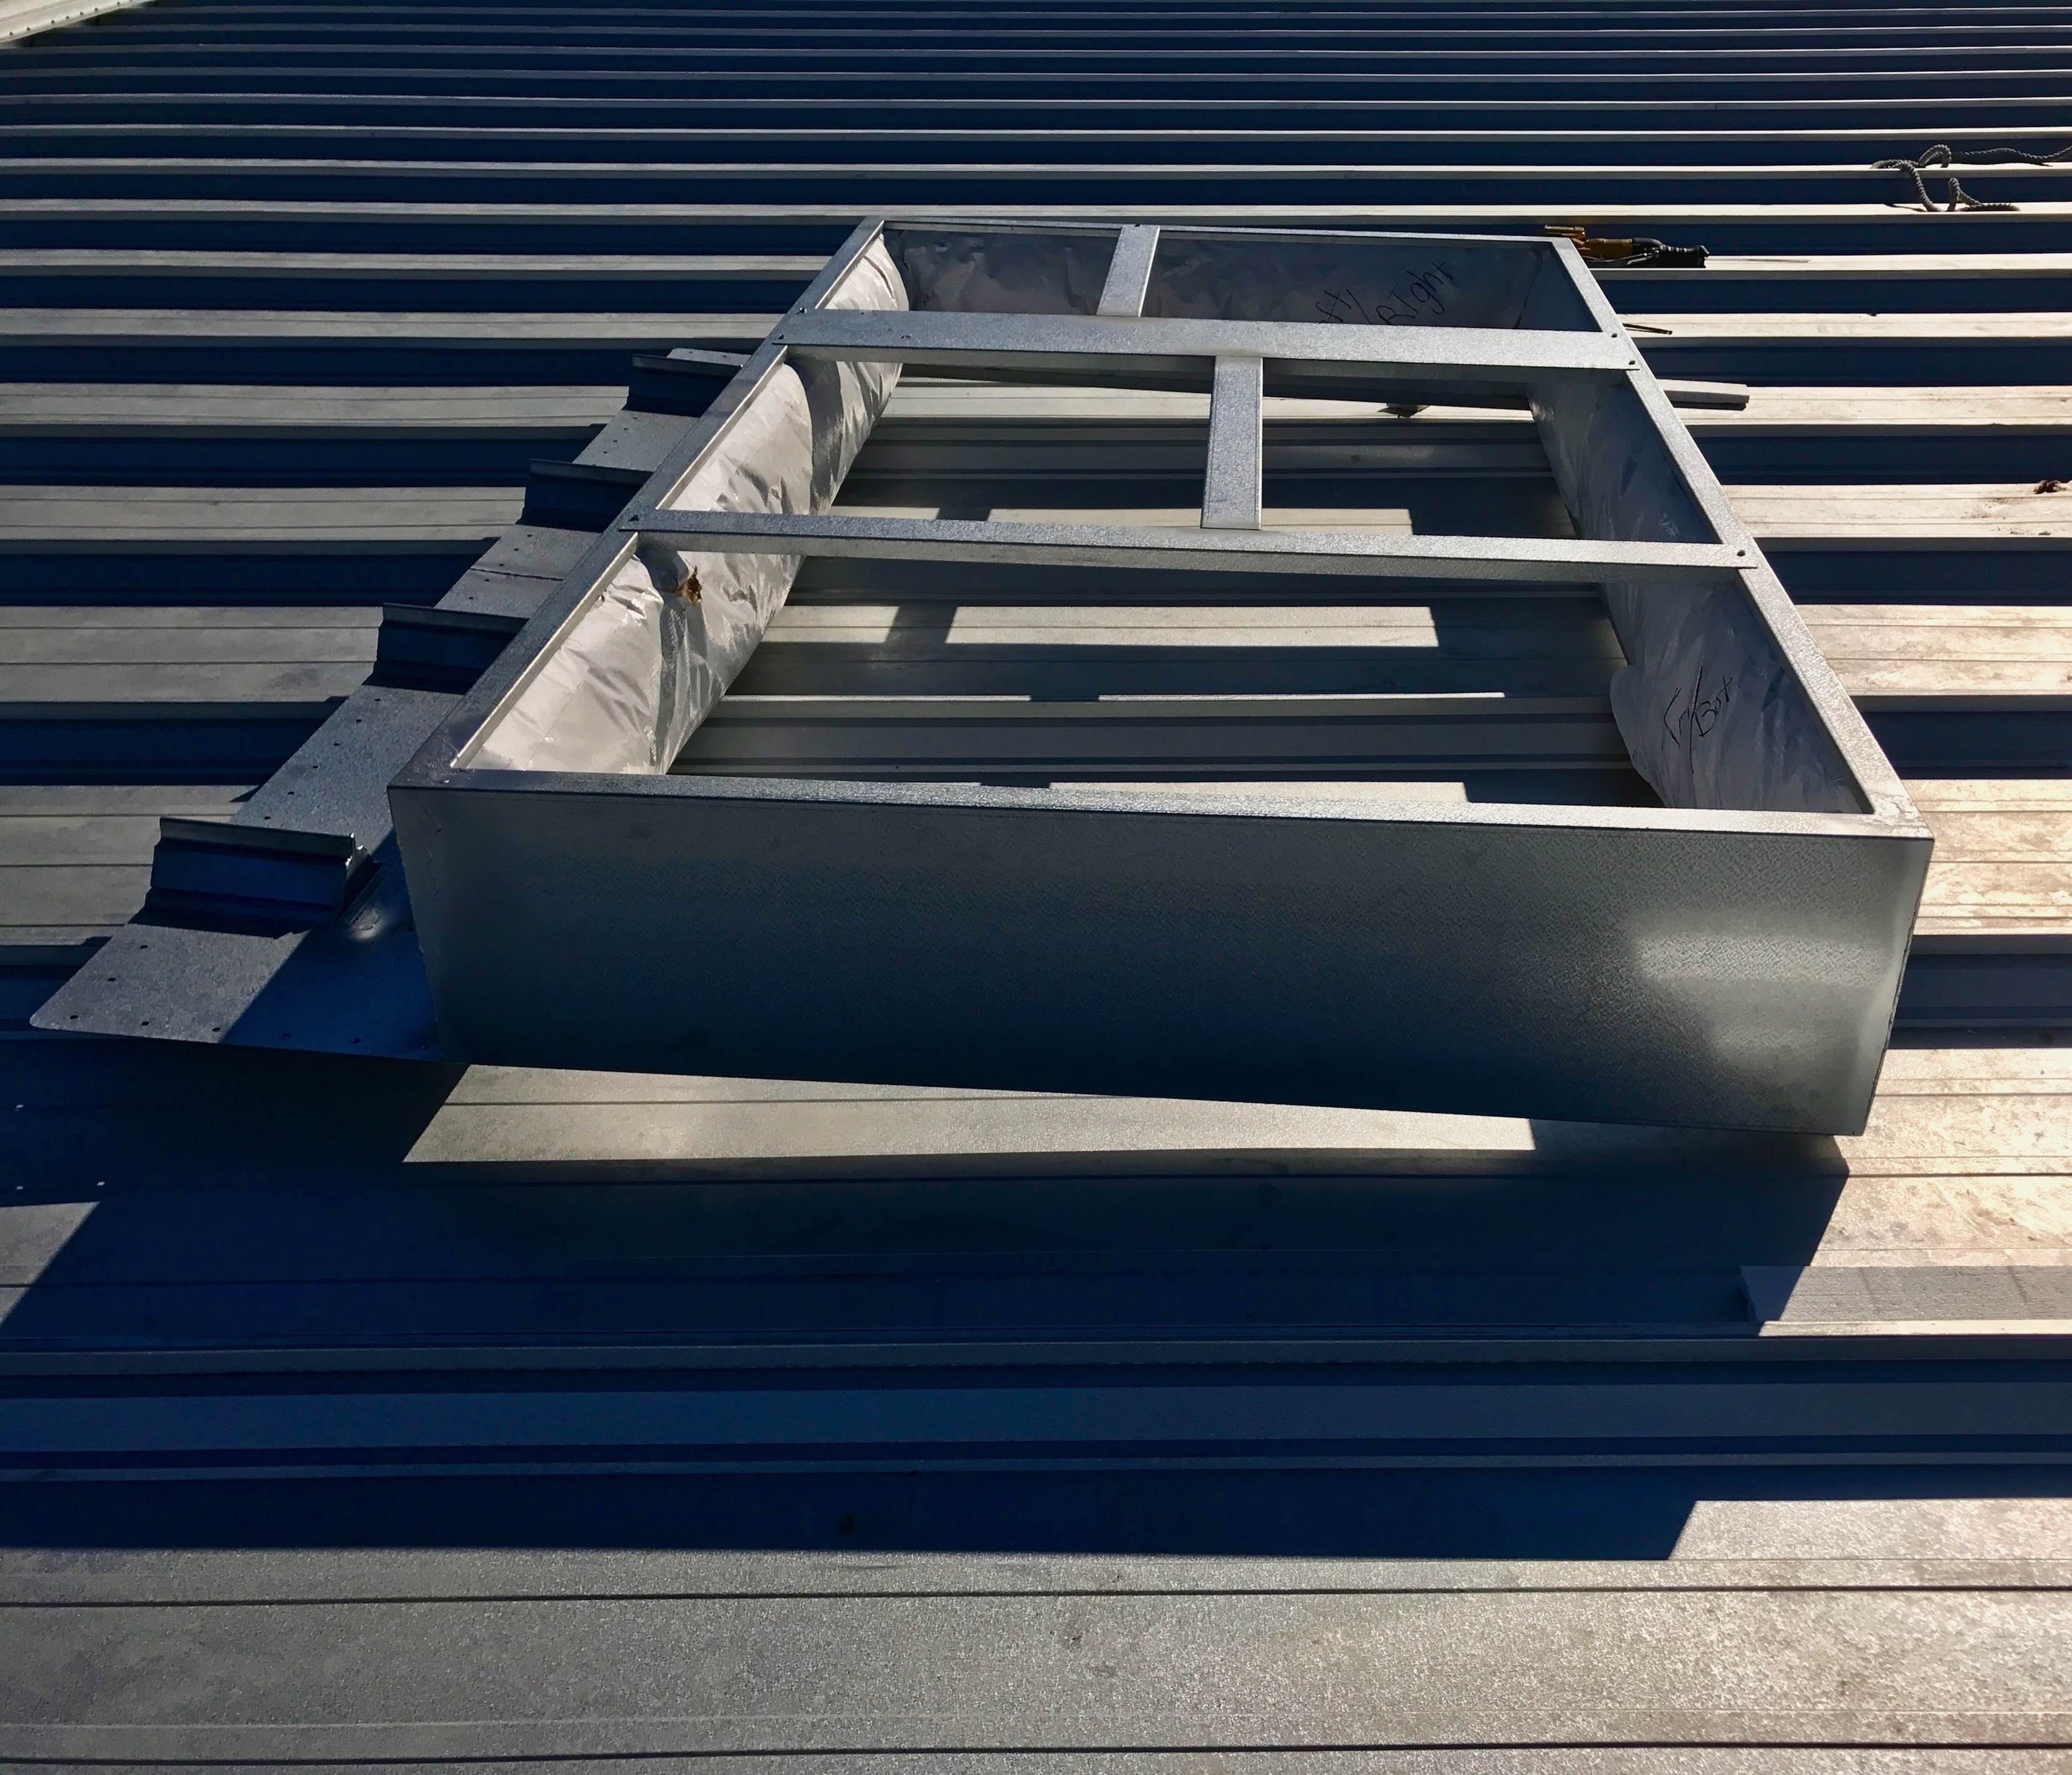 A] Set the curb in place and mark the area to be removed.
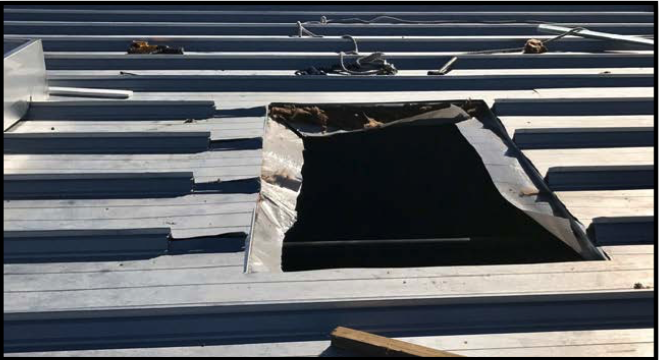
B] Cut the opening needed and trim back the roof’s standing seam components as needed for the curb to seat properly.
C] Clean the area around the opening to remove loose particles.
+Phase 2: Lay Your Roof Curb Down
 D] Apply double stick butyl tape [provided] to the underneath side of the perimeter of the roof curb.
E] Trim all excess butyl and check to see that the tape is secure.
F] Remove the backing layer from the tape and flip the hybrid roof curb over – holding it above the roof opening – and check for proper alignment.
+Phase 3: Place Your Roof Curb
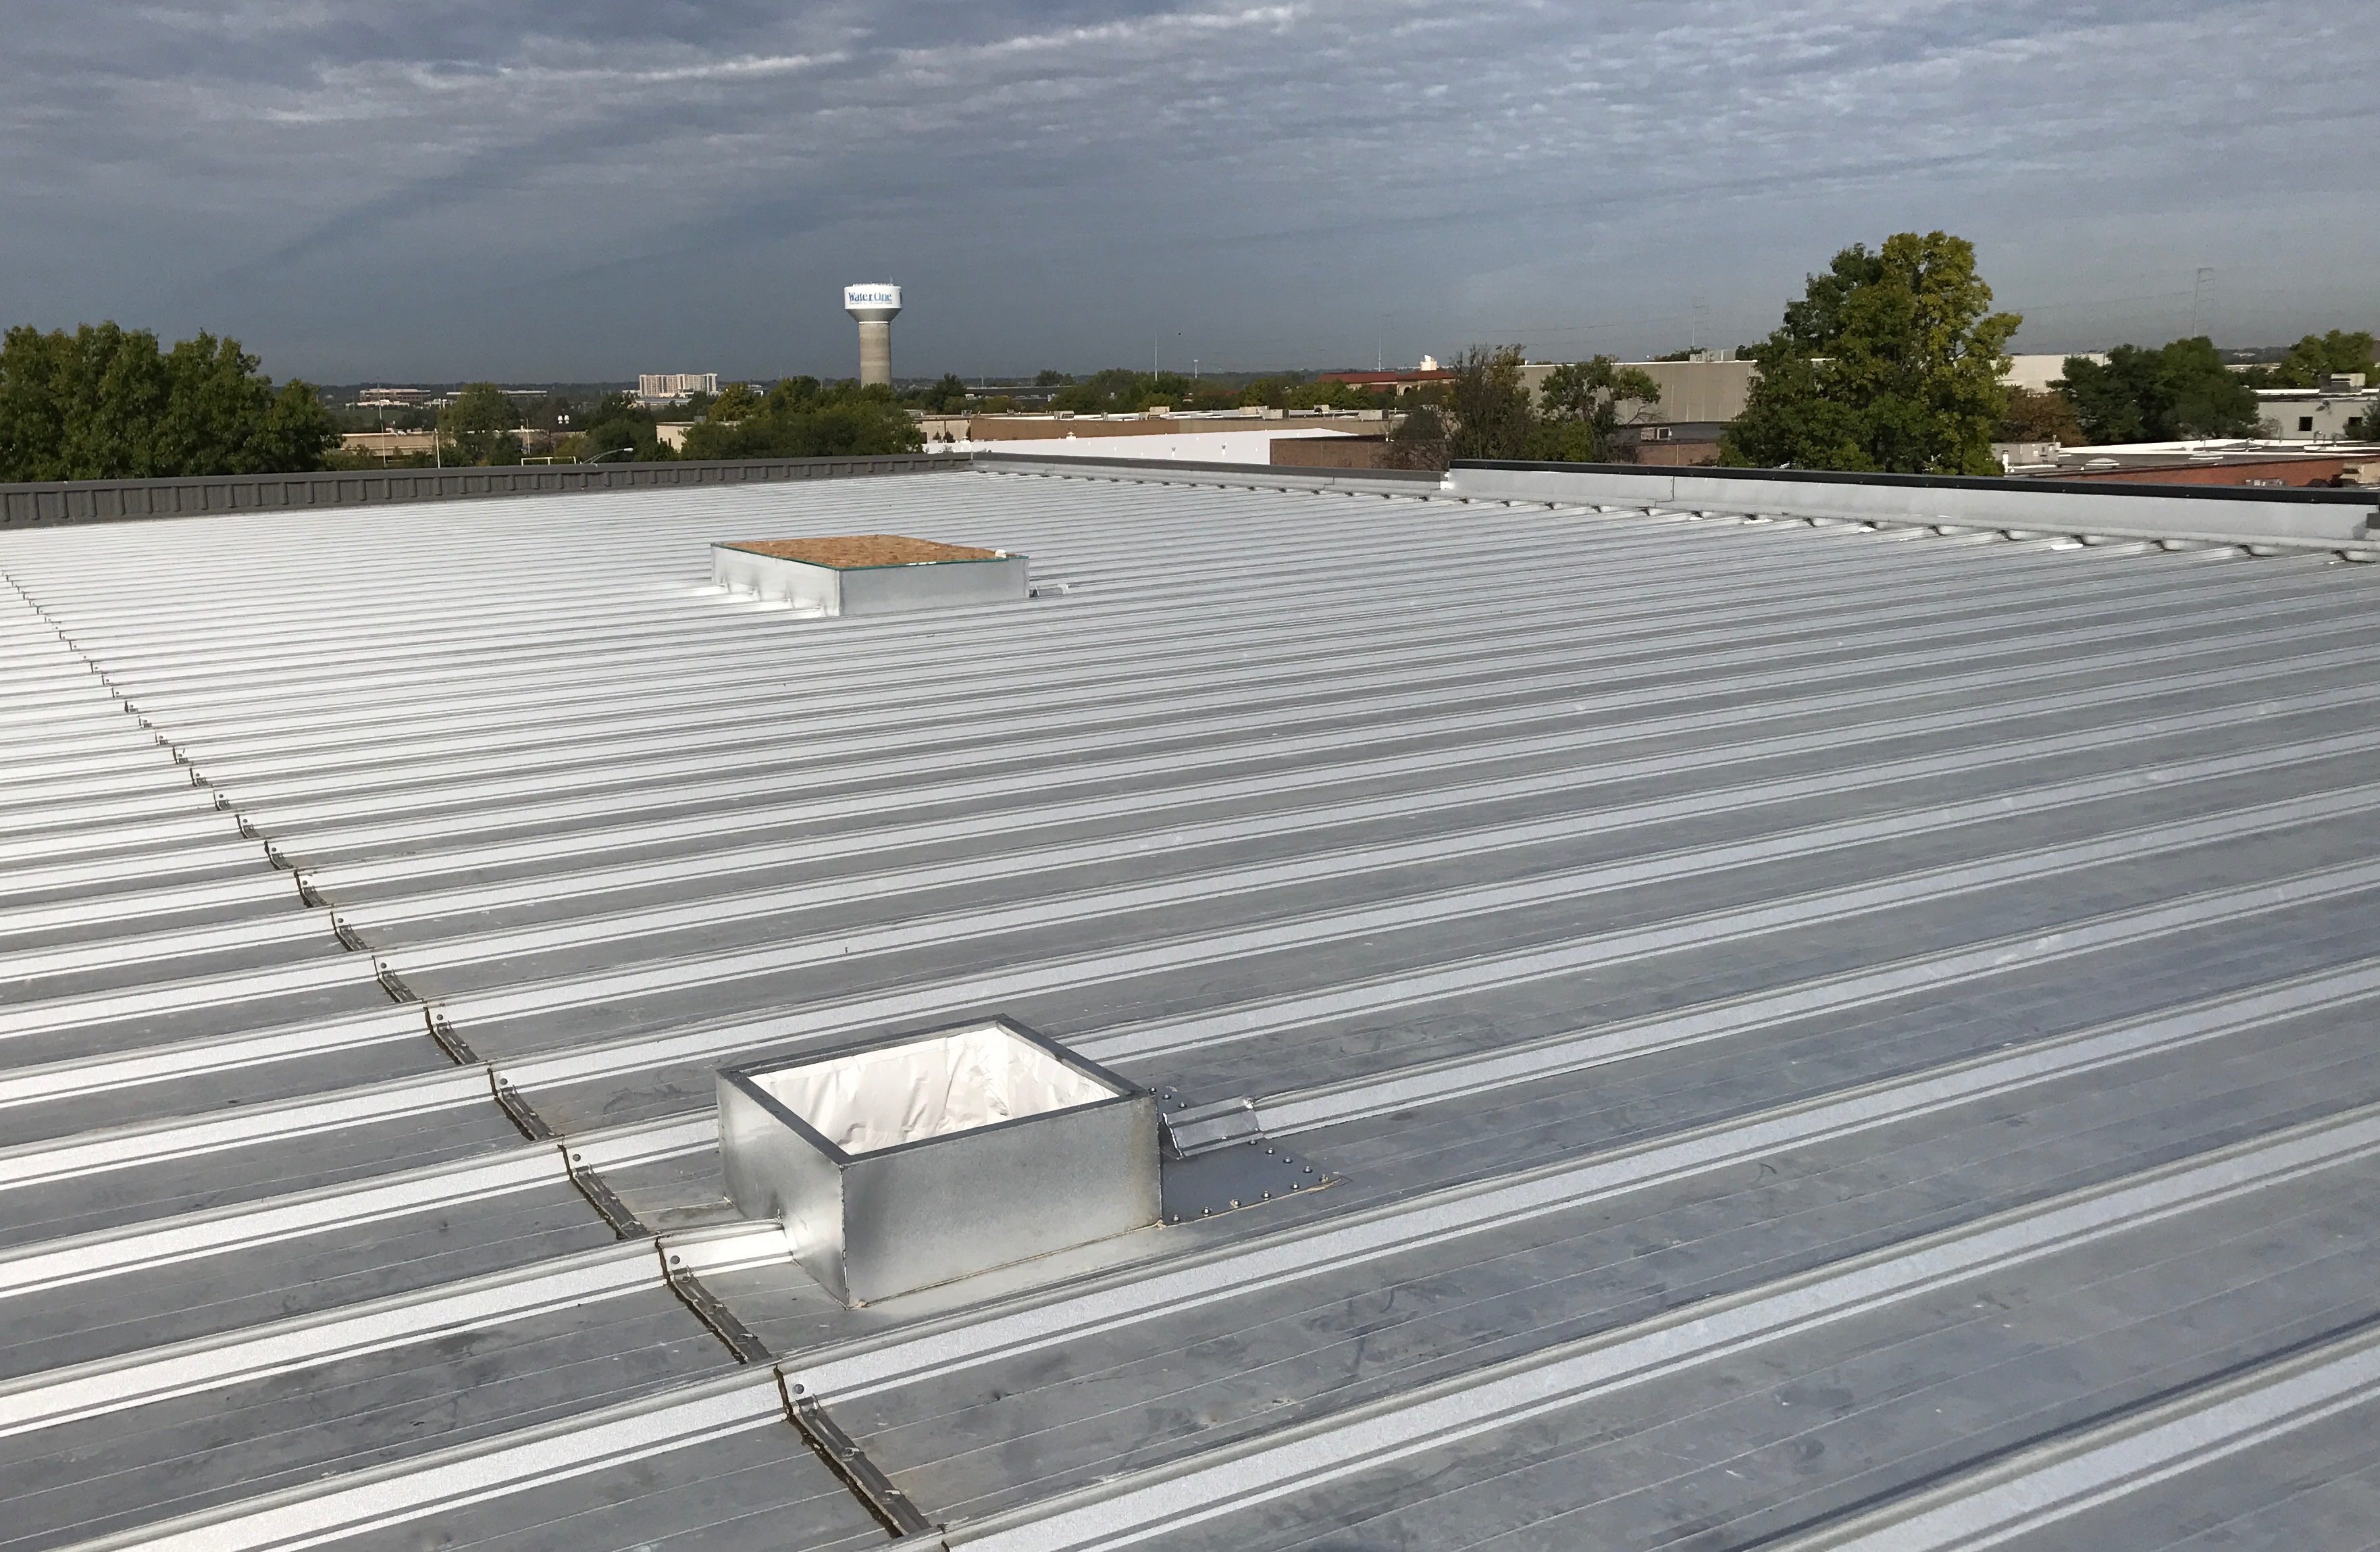
 G] Place curb in position and press down along the butyl tape edges to ensure even contact.
H] Secure the curb in place, via the pre-laid out fastener holes using the mechanical fasteners [provided].
+Phase 4: Clean Up and Finish

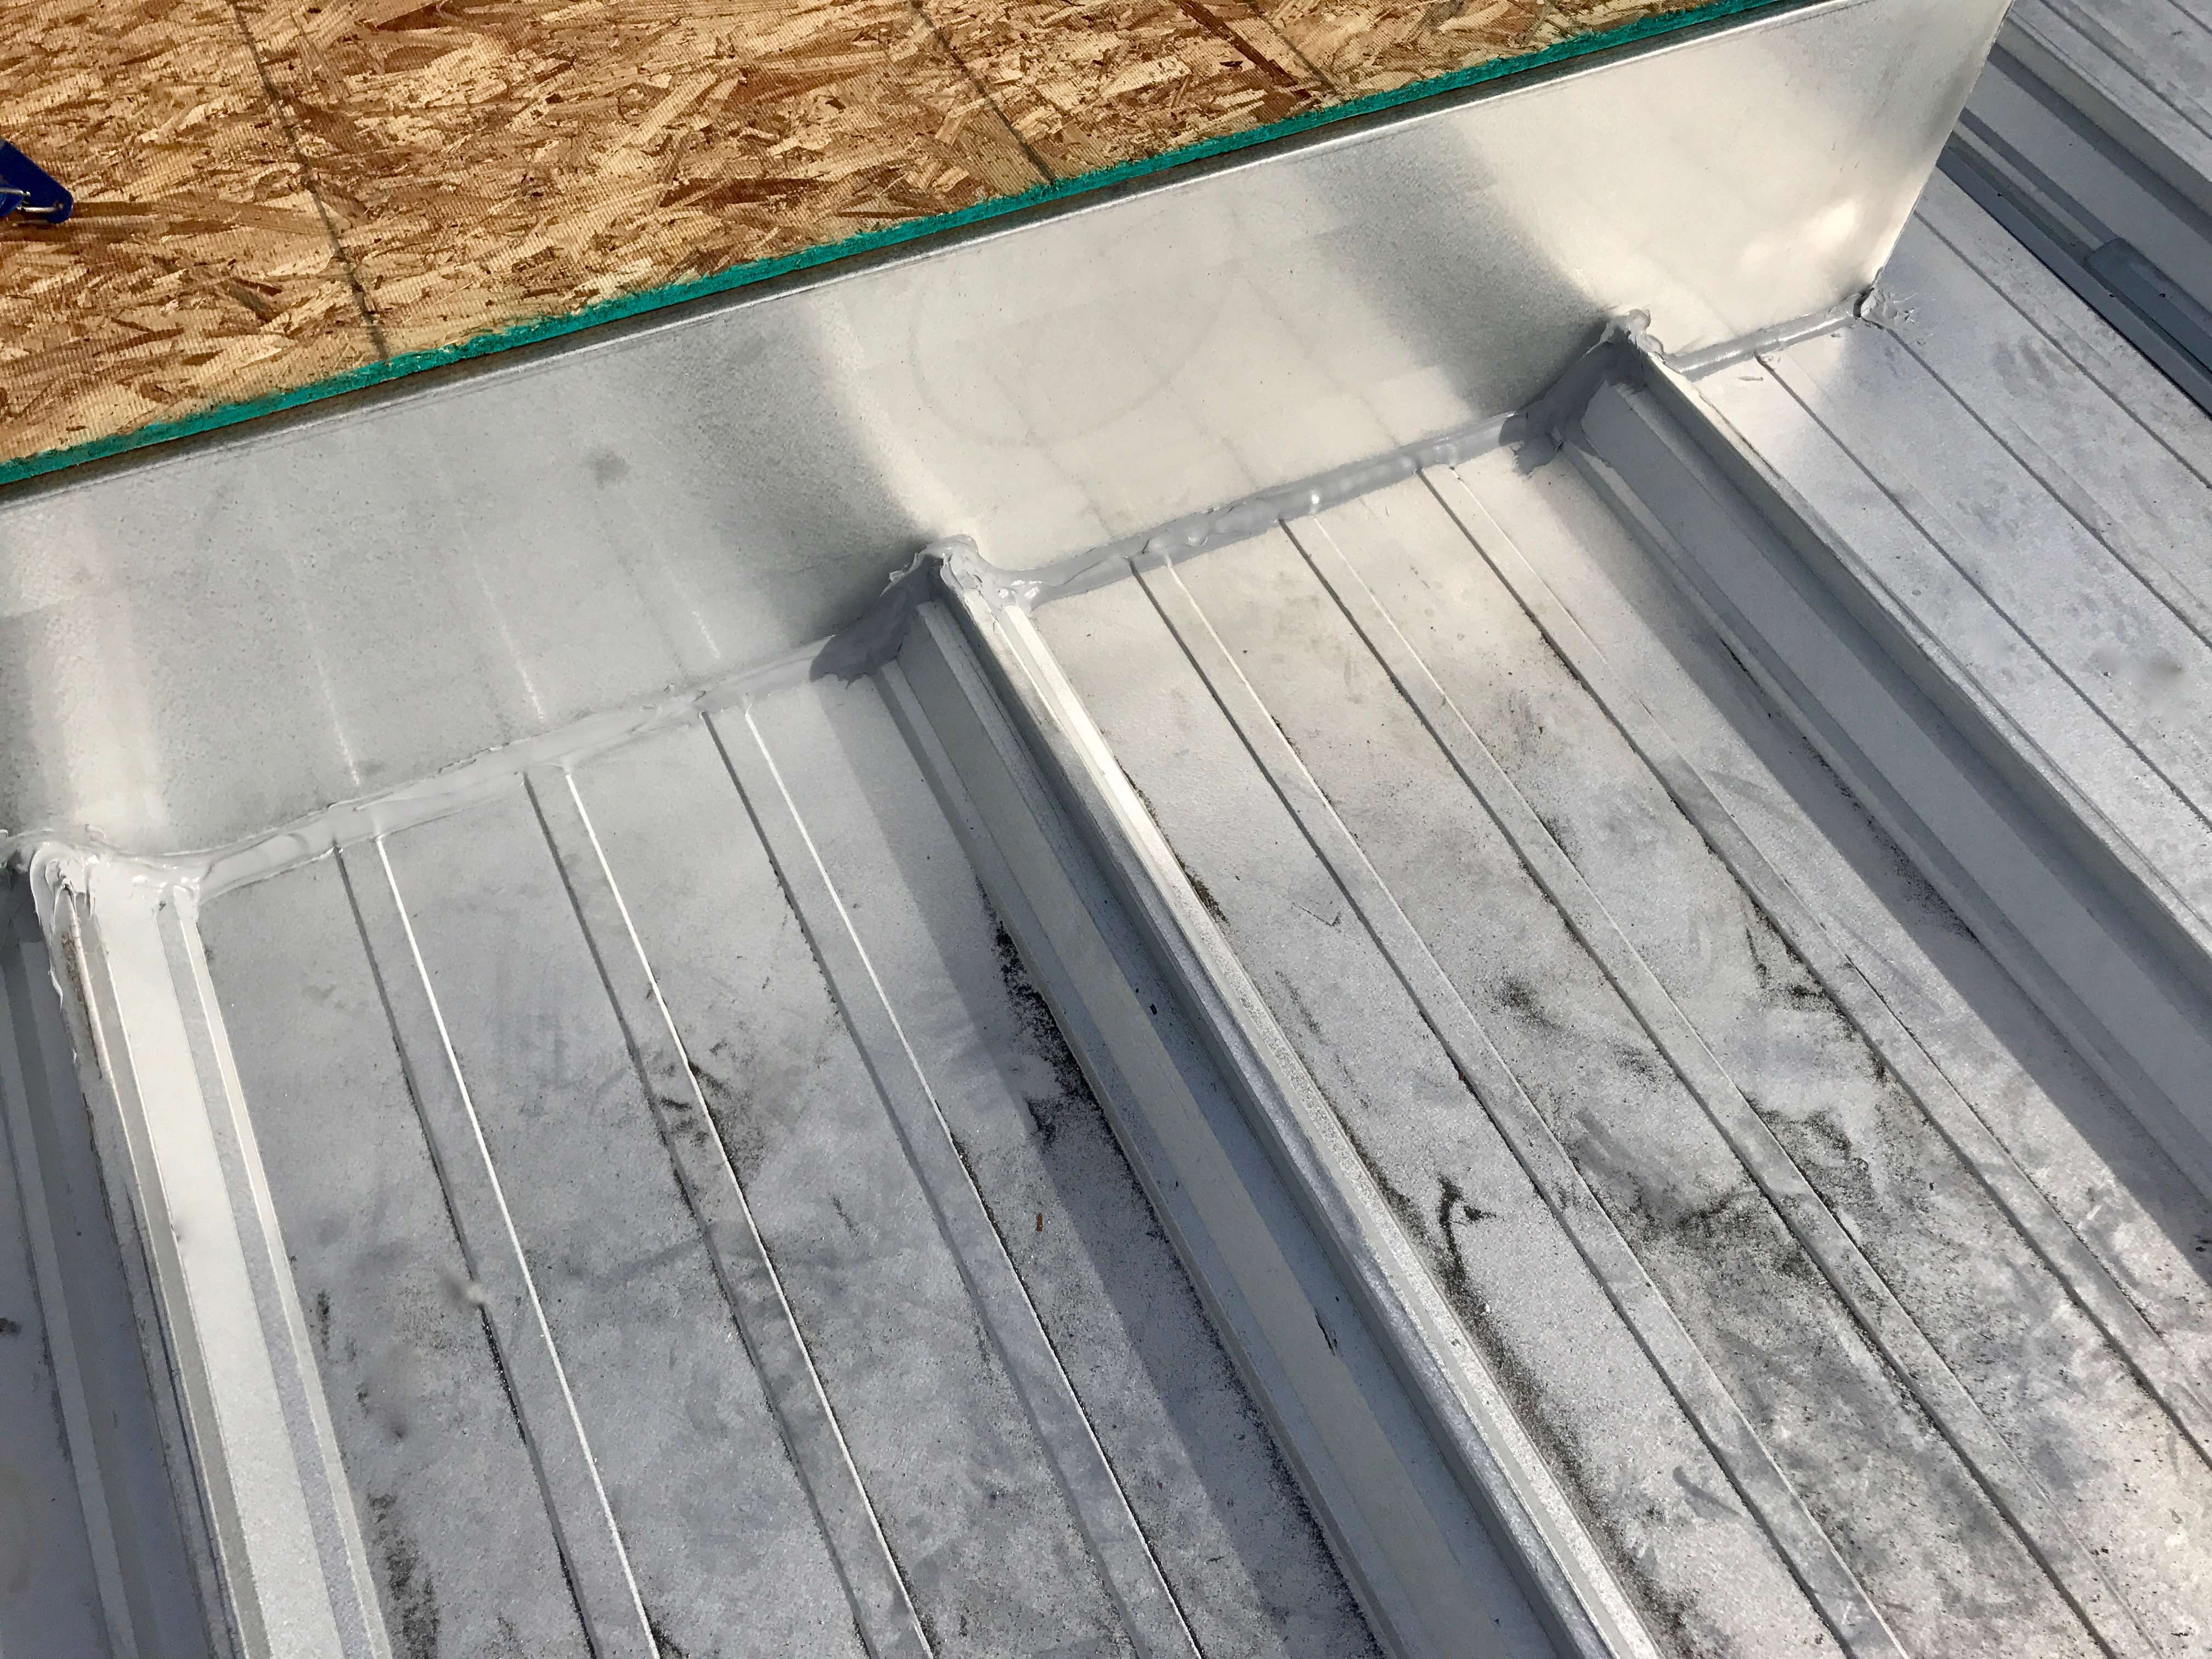
I] Clean up the area around the opening joint between hybrid curb and roof to remove any loose particles.
J] Apply caulk around the perimeter of the hybrid curb in an even and concise manner, utilizing the proper tools, to ensure a consistent seal.
That is it! You are ready to move on to the next one!